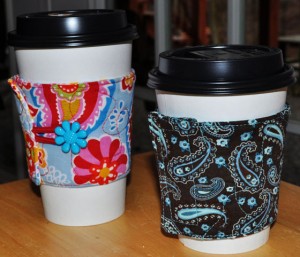
Free Cup Cozy (Java Jacket) Pattern comes in 2 sizes with your choice of Velcro or Button Closure options.
While hanging out at the local coffee shop with friends, I noticed the paper wraps for coffee and tea cups were not only always falling down, they were quite unattractive. (Gasp!) This really bothered me, and when something bothers me, I feel the need to fix it immediately.
The Stitchwerx Designs Free Coffee Cup Cozy (aka Java Jacket) Pattern is my solution to this pressing issue. This free sewing pattern comes in two sizes with your choice of Velcro or Button Closure options. So whip up a Cup Cozy and be the envy of the local coffee shop crowd!
The first thing you will need to do is download the pattern by clicking on this link: Stitchwerx Designs coffee cup cozy pattern. This pattern has two templates: 12-16 oz. and 20-24 oz. cozies along with a materials list and step-by-step instructions, but we’ll go through the steps here too. I won’t go through the entire materials list to save some time and space since you can get that right off the pdf pattern.
Let’s get started!
Just a note: Always prewash and dry your fabrics and batting to prevent cozy shrinkage in the wash! Many people think they can skip this step, but for best results, take the time to wash and dry first!
Choose the template for your cozy size and print it out at 100%. The 12-16 oz. size fits the most-used coffee/tea carryout cups. I made the larger (20-24 oz.) size for my daughter and her college roommate because they have those big reusable plastic cups. I also use the larger version because I am a 20 oz. smoothie drinker. The cozy keeps my hands from freezing and it just looks so darn cute!
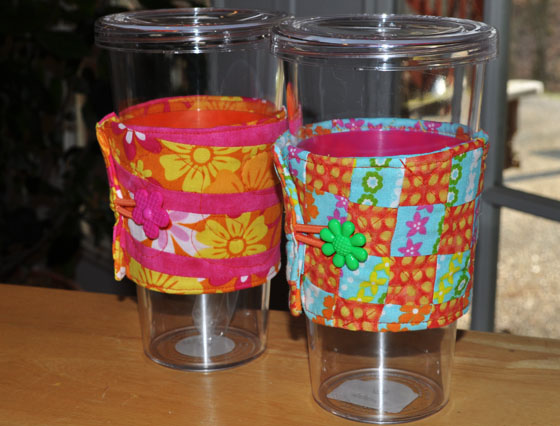
Large size cup cozies fit 20-24 oz. cups. Vertical stripes and Checkerboard Square Designs shown here are available in the Stitchwerx Designs etsy shop.
Cut out 1 each of front, back & batting using your selected template.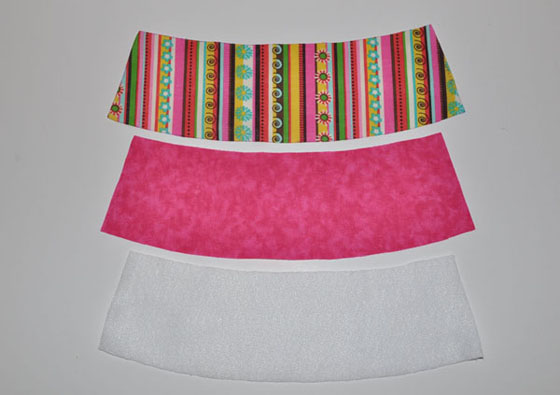
Trim about 1/8” off the batting all the way around to reduce seam bulk. Fuse batting to wrong side of the back panel.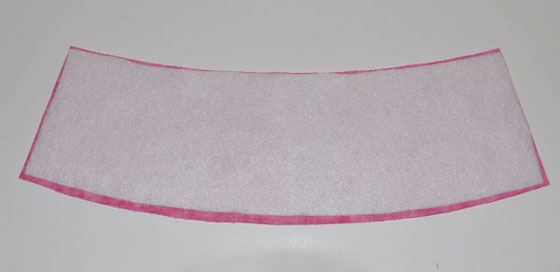
Button Closure Version Only:
Cut hair elastic in half. Make a loop with 1 piece.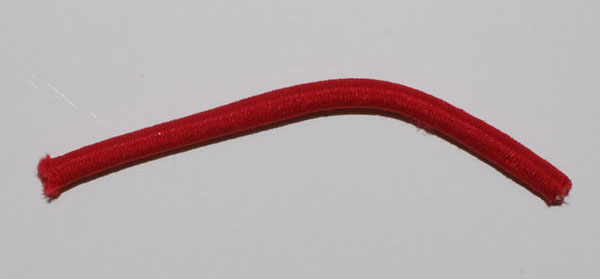
With right side of back piece facing up, position loop on right edge as shown in photo. Zig zag stitch loop in place.
Both Versions:
Pin front to back right sides together & stitch using 1/4” seam allowance. Leave opening as indicated on pattern so you can turn cozy right side out.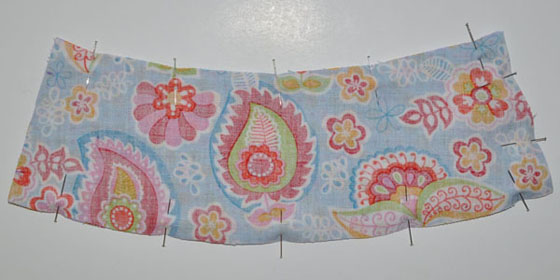
If you are doing the Button Closure version, reinforce the stitching where the loop is sewn into the seam as shown below.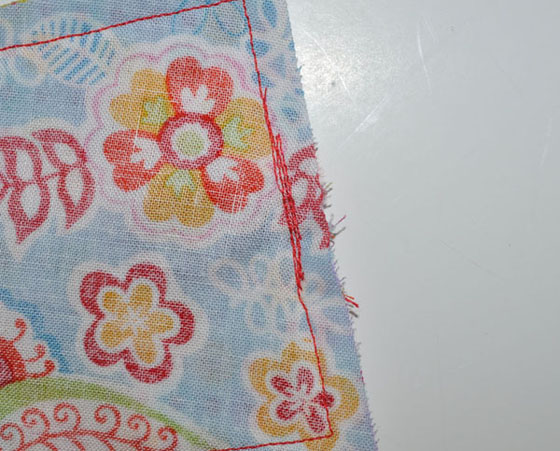
Clip corners and curves being careful not to clip into seam. Turn right side out.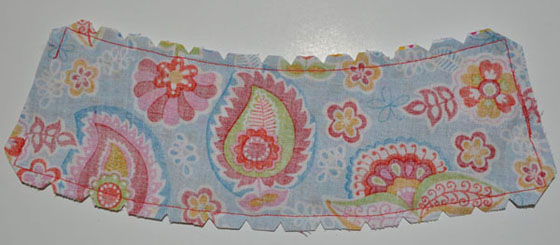
Turn in 1/4” seam at opening and press. Stitch 1/8” from edge all the way around.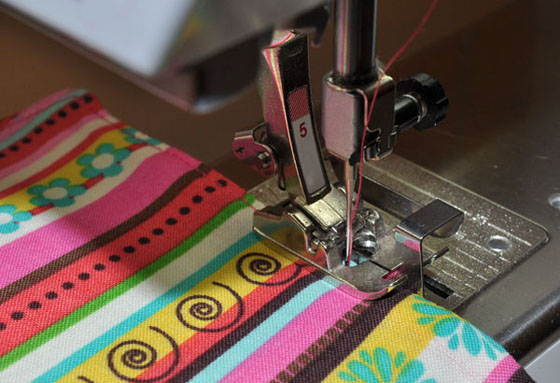
Velcro Closure Version Only:
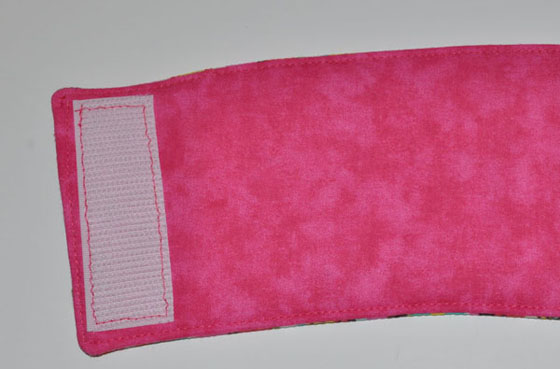
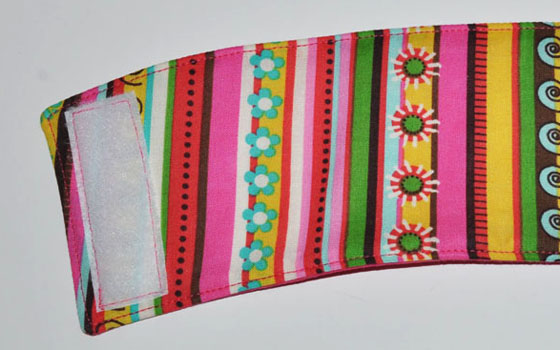
Cut Velcro strips to fit about 1/4” inside cozy height. You can use 5/8″ – 1″ wide Velcro. Sew hook & loop Velcro strips in place on cozy as shown in photos. Cozies with Velcro closures are reversible by flipping cozy around and fastening Velcro the other way. How perfectly versatile is that?
Quilting (both versions):
You can machine quilt both versions at this point if you wish. This is optional. I like to quilt my cozies. You can do the freestyle quilting or straight lines, really whatever you want.
Button Closure Version Only:
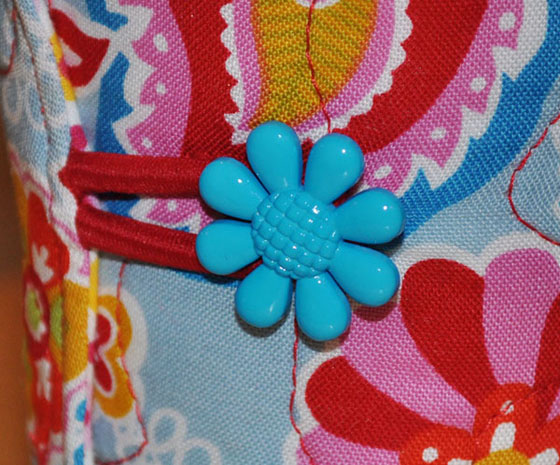
After quilting, sew you button on as indicated on pattern.
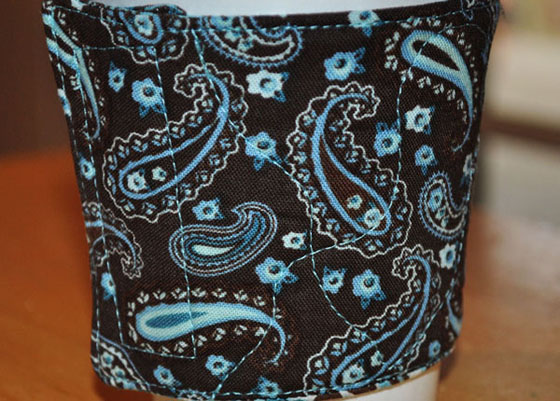
Your cozy is now ready for use! Take your cozy to the nearest coffee shop and let everyone admire your mad cup cozy making skills!
Everyone loves a party! Look for me at these LINKY PARTIES!



Pingback: sewing | Pearltrees
Pingback: Coffee Cup Sleeve/Cozy Tutorials | KitsKorner.Com
Pingback: jacket tutorial - Women
Pingback: “What are we gonna use THESE for?” | Sam's Sewing Club
Pingback: Handmade Christmas: Stocking Stuffers Part I: Mostly Grown-Up Stuff – Hopewell's Public Library of Life
Pingback: Sewing projects for a zero-waste life | Sewing vs Single Use Big 4s