Free Fitted Face Mask Sewing Pattern

FacebookpinterestFacebookpinterest

With demands on healthcare facilities and workers growing daily during the COVID-19 Pandemic, PPE supplies are rapidly hitting critical low levels throughout the US.

In times of emergency, when all compliant supplies have been exhausted, the CDC allows fabric masks to be used. Learn more about CDC Guidelines Here. Sewists can work together to help boost the supply during this critical time.

Disclaimer: While wearing a homemade face mask may not prevent someone from catching Covid-19, it can decrease the spread of large particles when someone who is infected sneezes or coughs.

You should wash and sterilize your face mask before and after use. Use a color safe bleach such as Clorox 2 in hot water. If you are inserting a disposable liner, remember to remove and discard the liner before laundering.

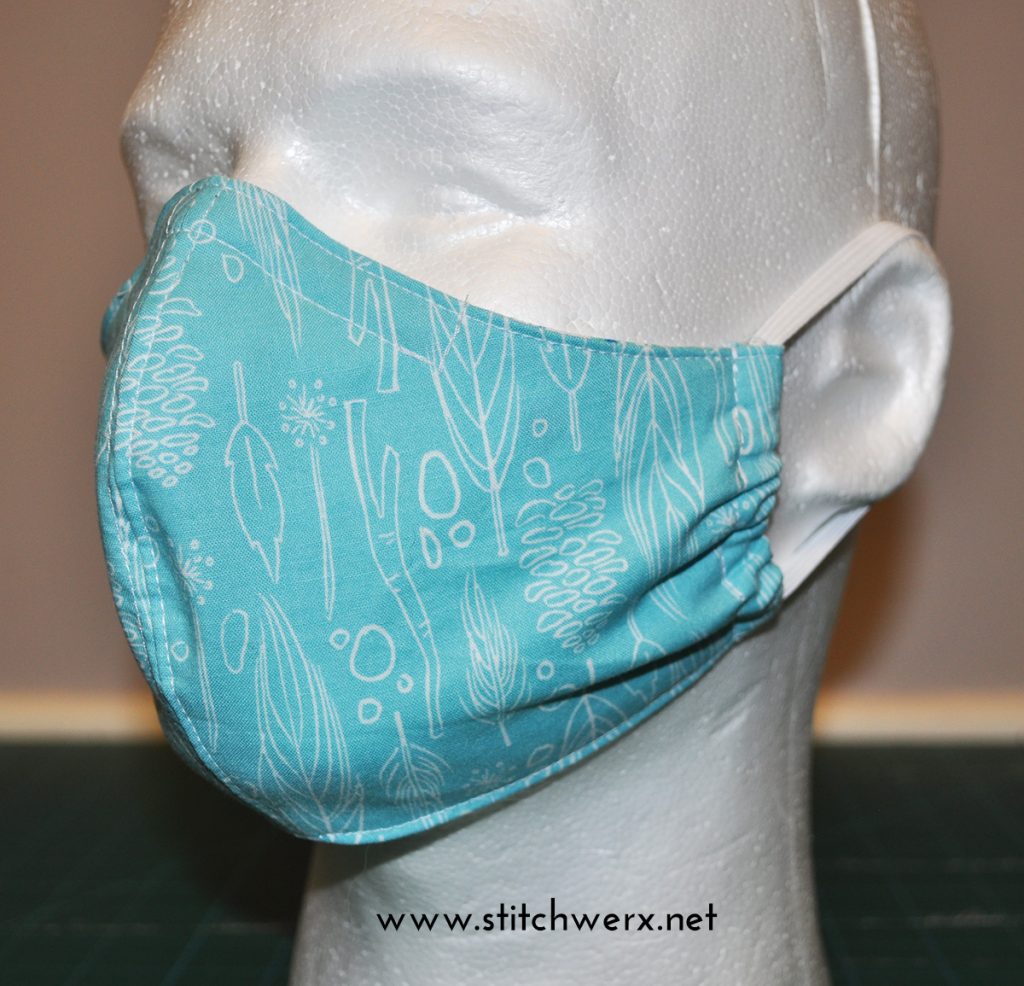
This fitted face mask pattern includes four sizes: X-Small (ages 3-6 years), Small (ages 7-12), Medium (teens and women) and Large (men). This mask is lined and has an opening to allow you to insert additional filtering material if you wish. A good filter insert would be a non-woven fabric or material. I used a coffee filter which was light weight, so it was easier to breath while adding an extra layer of filtration.

Download the Stitchwerx Designs Fitted Face Mask Pattern here.

Materials & Supplies

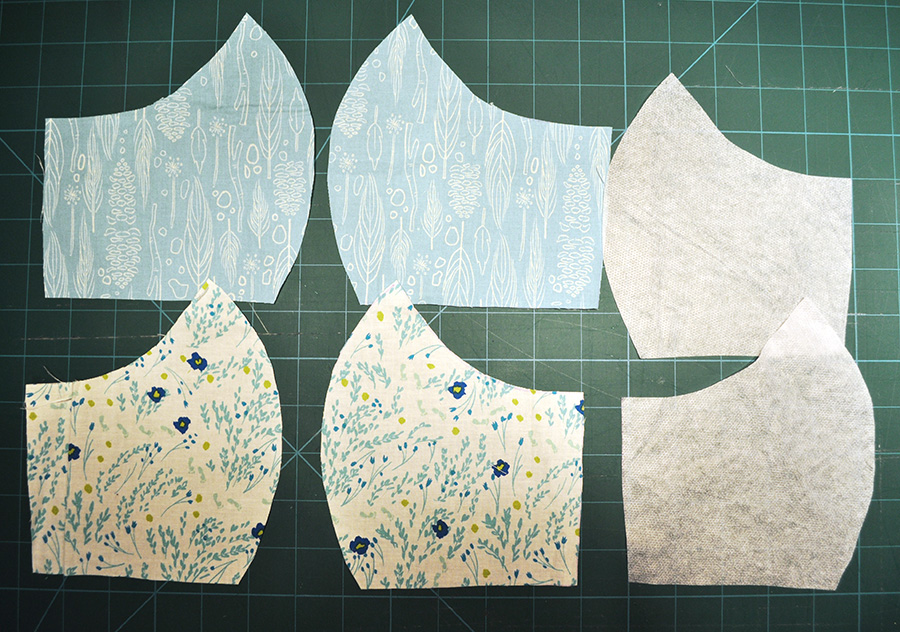
  • Main Fabric: Tightly woven cotton (such as quilter’s cotton)- 7 x 14”, prewashed
  • Lining Fabric: Tightly woven cotton (such as quilter’s cotton)- 7 x 14”, prewashed
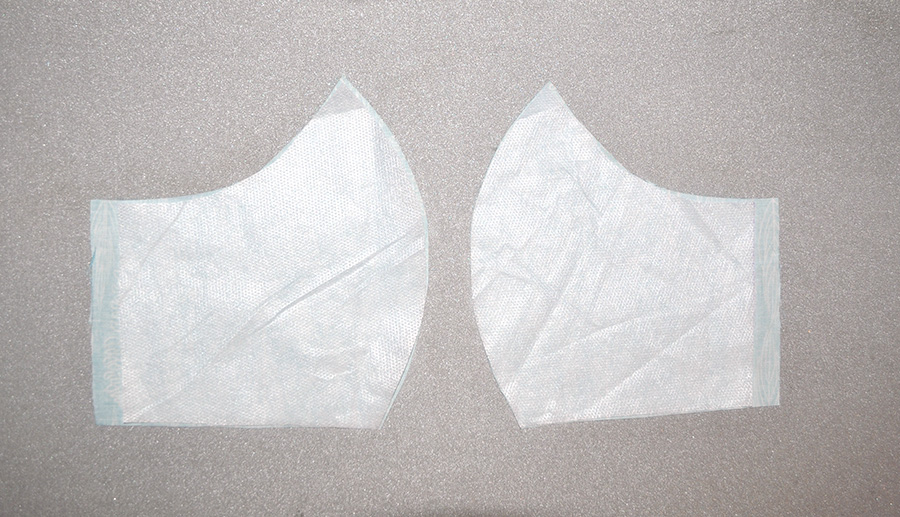
  • Non-woven light weight fusible interfacing- 7 x 14” (Heat n Bond or Pellon)
  • 16” of 1/4” flat elastic (14″ for kid’s sizes)
  • Sewing machine
  • Thread
  • Scissors
  • Water soluble fabric marker
  • Iron
  • Safety Pin
  • Bendable nose piece (optional)

Before You Sew

  • Prewash and dry fabric.
  • Use Adobe Reader to print pattern page. Print at 100%, No Scaling. Measure the gauge box on the pattern page. It should measure 1 inch.
  • Seam allowance is 3/8”.

Construction

Face mask pattern pieces cut out
Cut outer fabric, interfacing and lining as indicated on pattern pieces.
Fuse interfacing to the wrong side of outer fabric pieces.
Place outer fabric pieces right sides together and stitch center line. Repeat with lining fabric pieces.

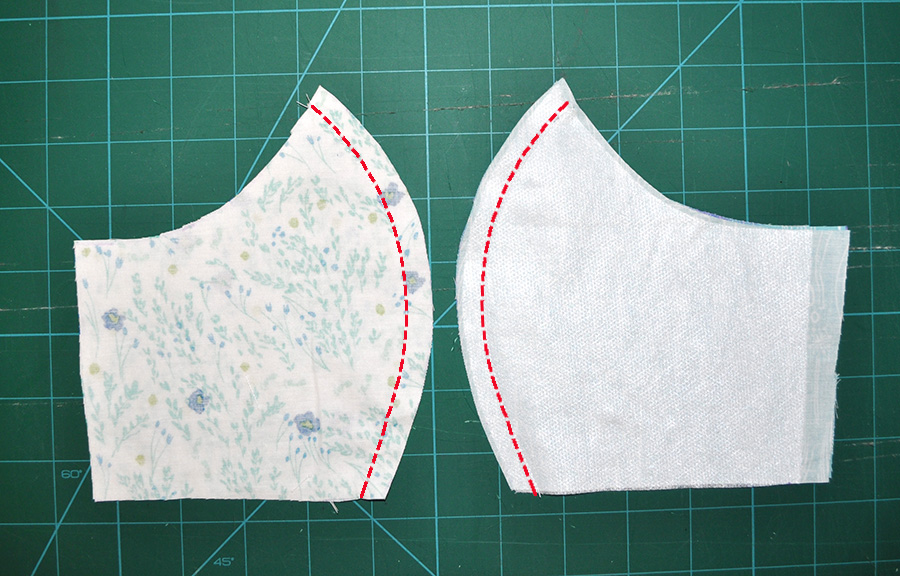
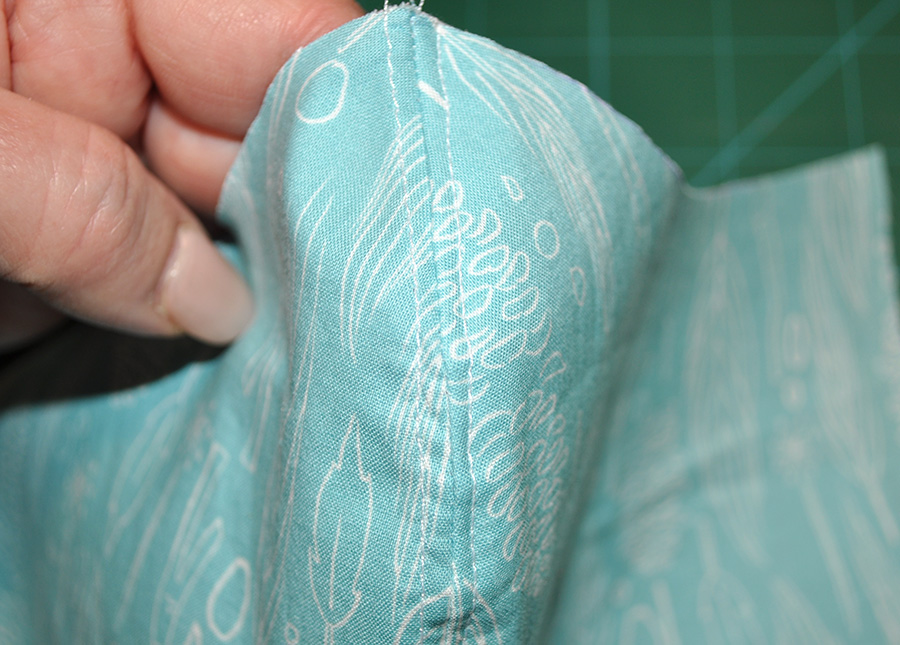
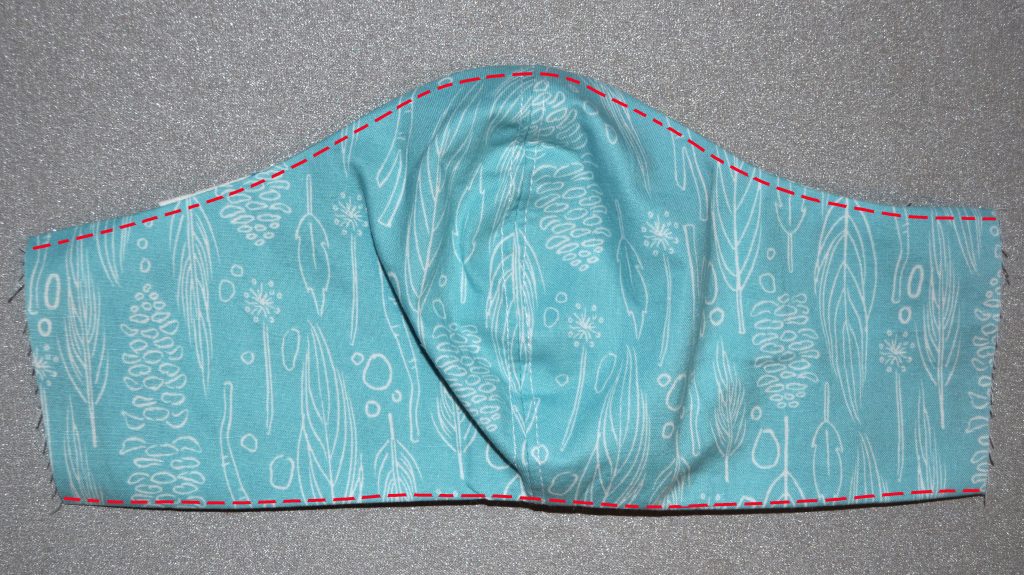
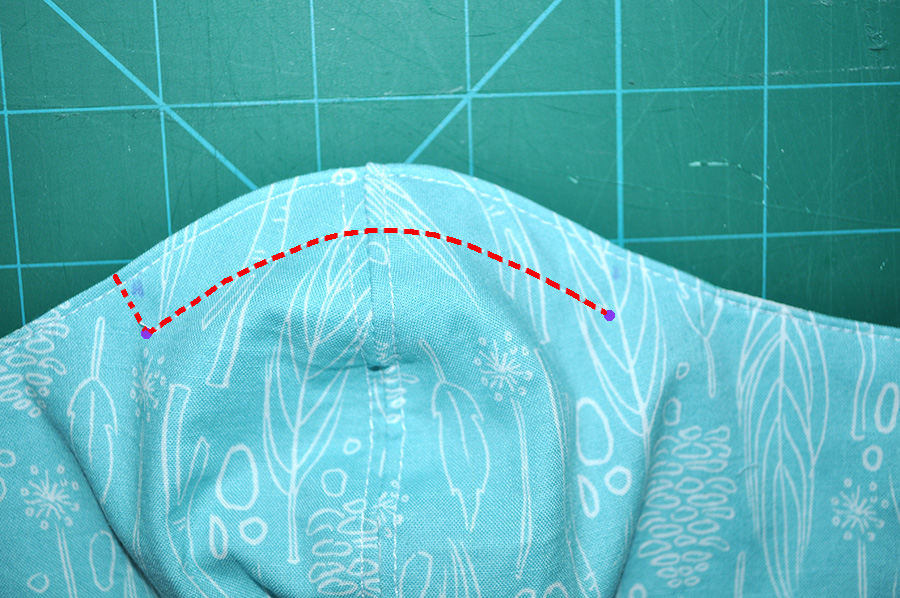
Clip curves. Press seam to one side. (Same for outer and lining sections).

Top stitch 1/8” away from each side of the center line seam. (Same for outer and lining sections).
Fold left and right edges of lining on the fold line to the wrong side, tucking the raw edges under. Press.
Stitch vertically close to the folded edge to hold in place.
Place outer fabric and lining right sides together, matching centers. Sew together at top and bottom edges. Side edges are open.

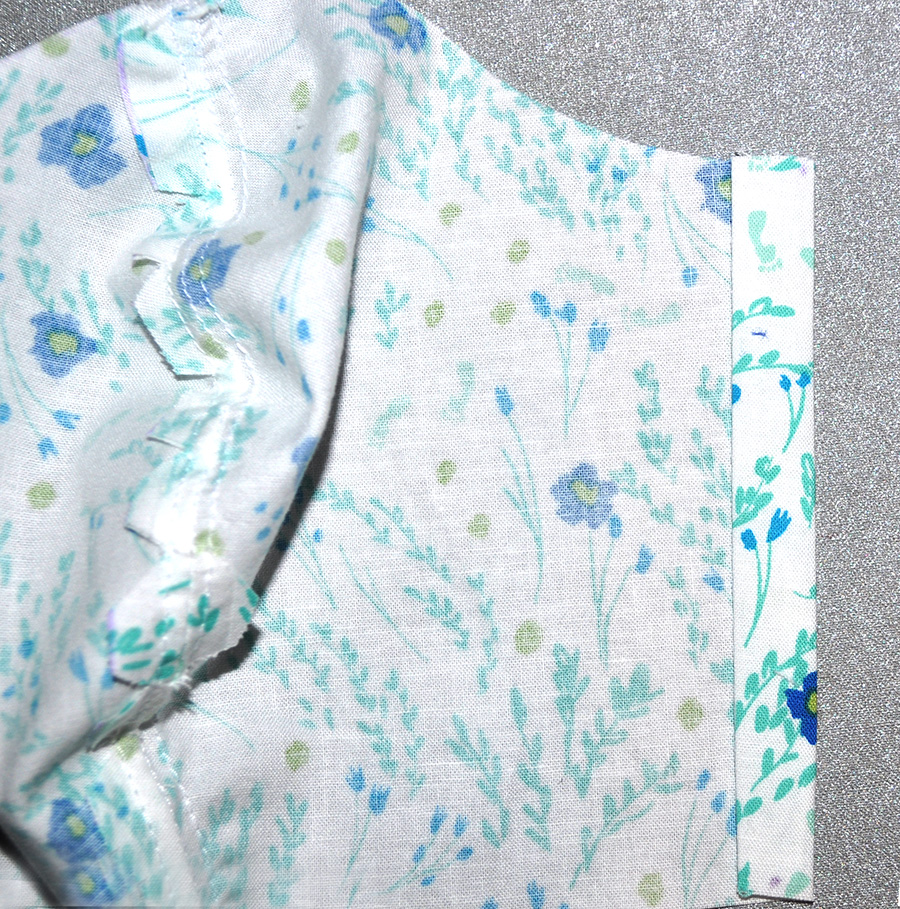
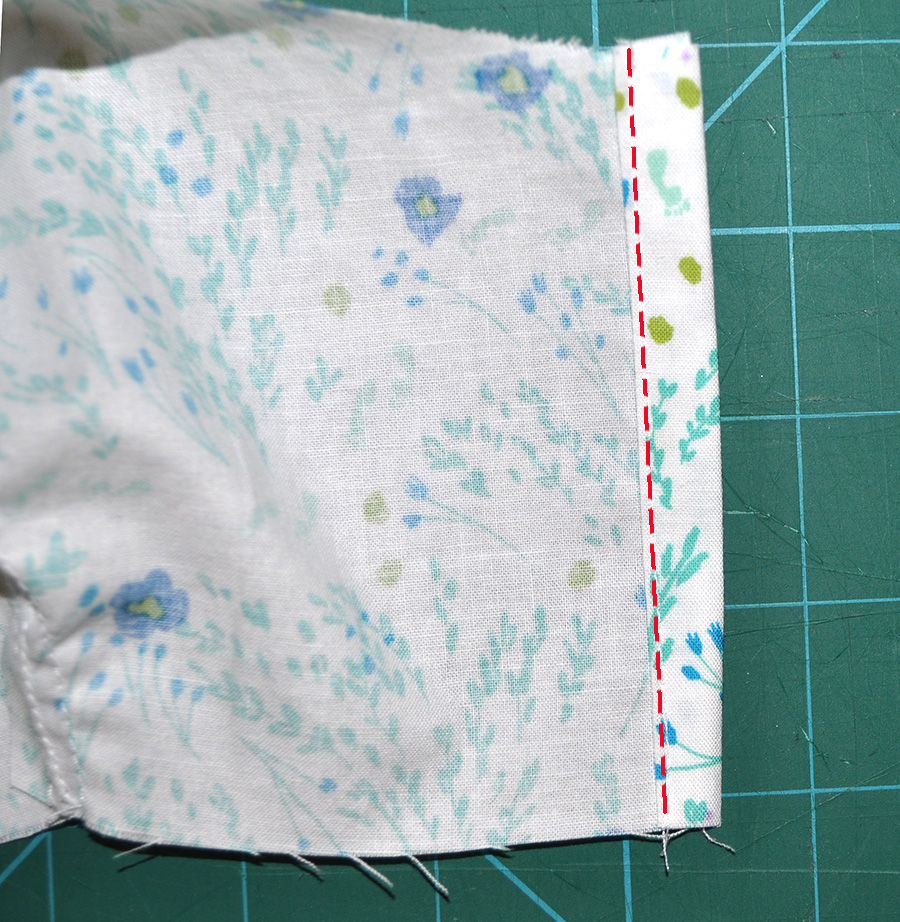
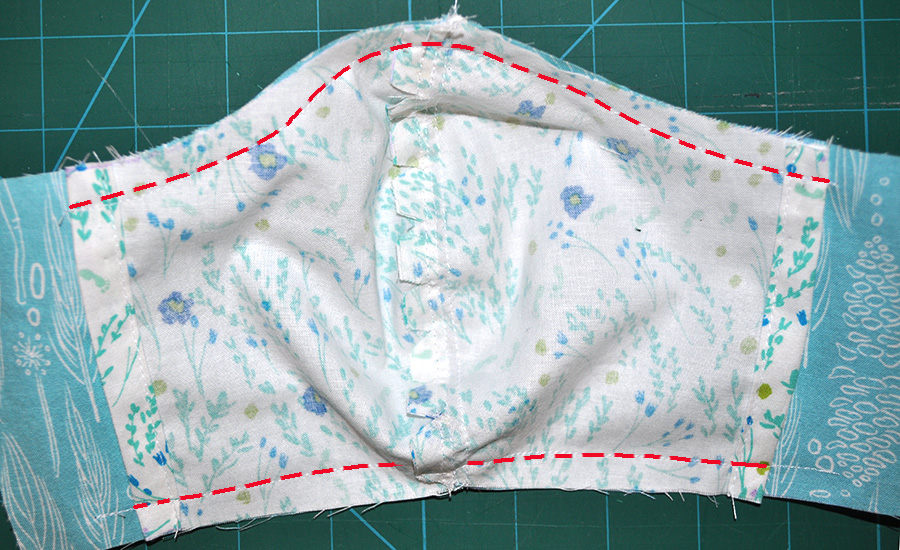
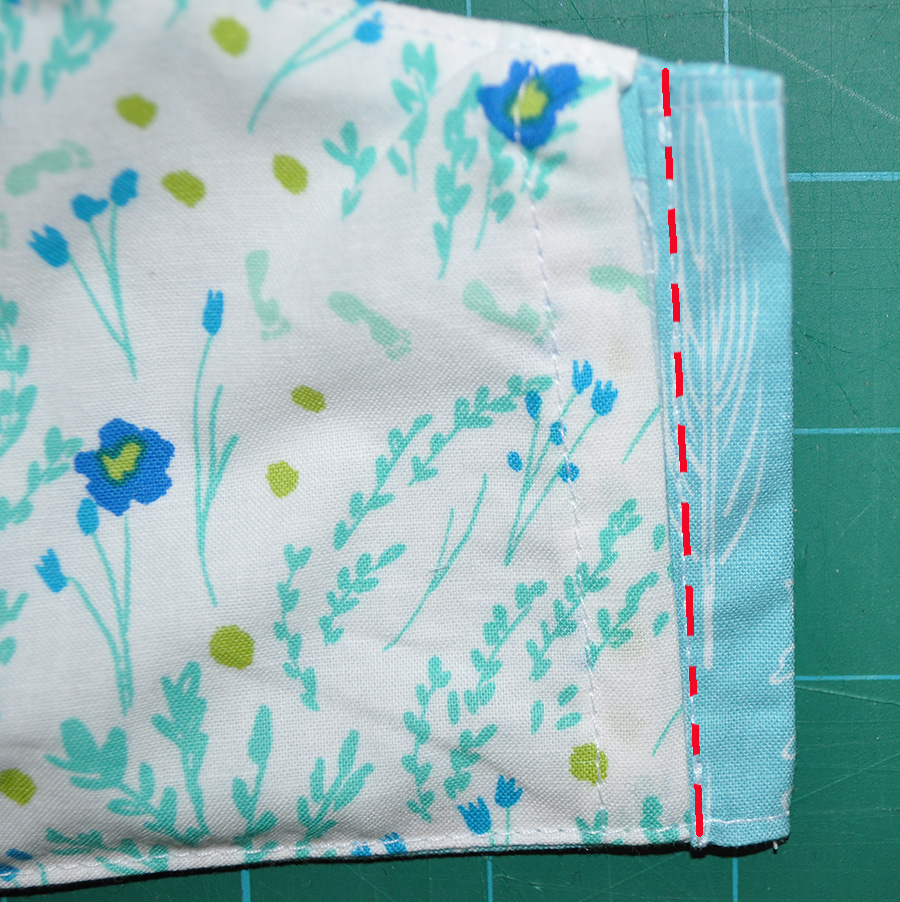
Note: the outer fabric should be extending 1” beyond the lining at the left and right edges.

Turn right side out. Press. Note: press down the raw edge of the outer layer along the seam allowance line where it extends beyond the lining.
Top stitch 1/8” from edge at top and bottom.
To make the casing for the elastic, fold raw edge of each side of outer layer 1/4” to the wrong side, then fold again so the folded edge meets the folded edge of the lining.
Stitch in place vertically, very close to the edge. Leave the top and bottom open so you can insert the elastic.
Cut 2 pieces of elastic 8” long (7″ for kid’s sizes). Pin a small safety pin to one end of the elastic to help you insert elastic into the casing. Do this on each side.

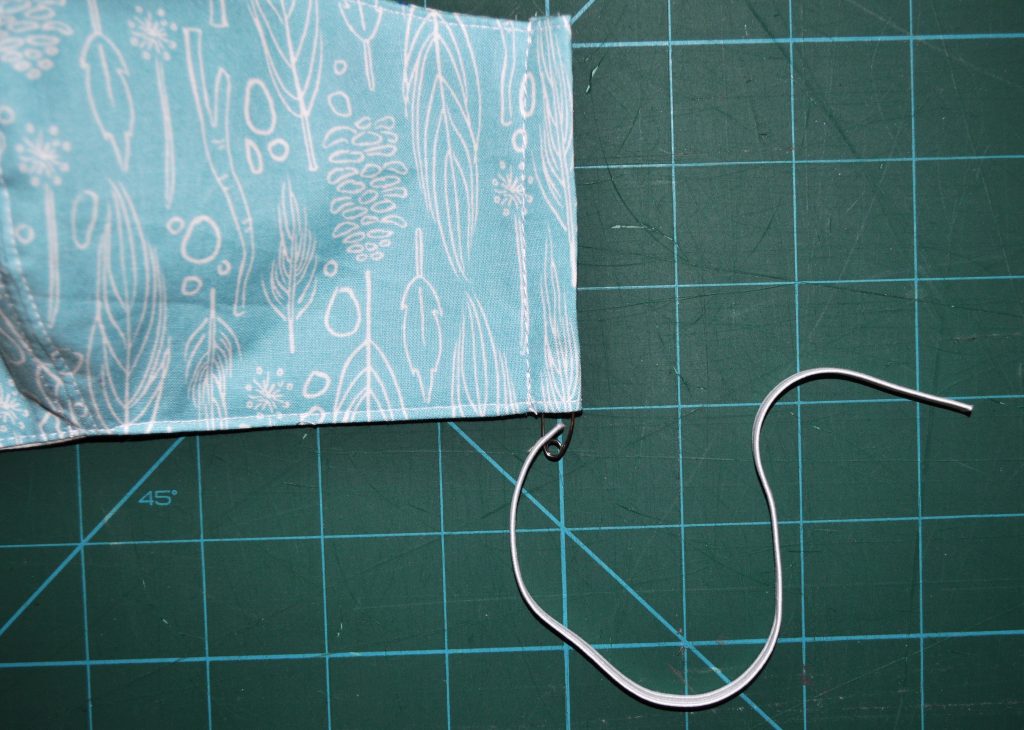
Bring elastic ends together overlapping the edges about 1/4” and stitch together. I tacked first by hand, then stitched again with the machine using a zig zag stitch. Sorry I missed taking a picture of this step! Note: Be sure to turn the elastic ends toward the lining, so it will loop over the ears when sewn together.

Slide the elastic until the seam is hidden inside the casing.

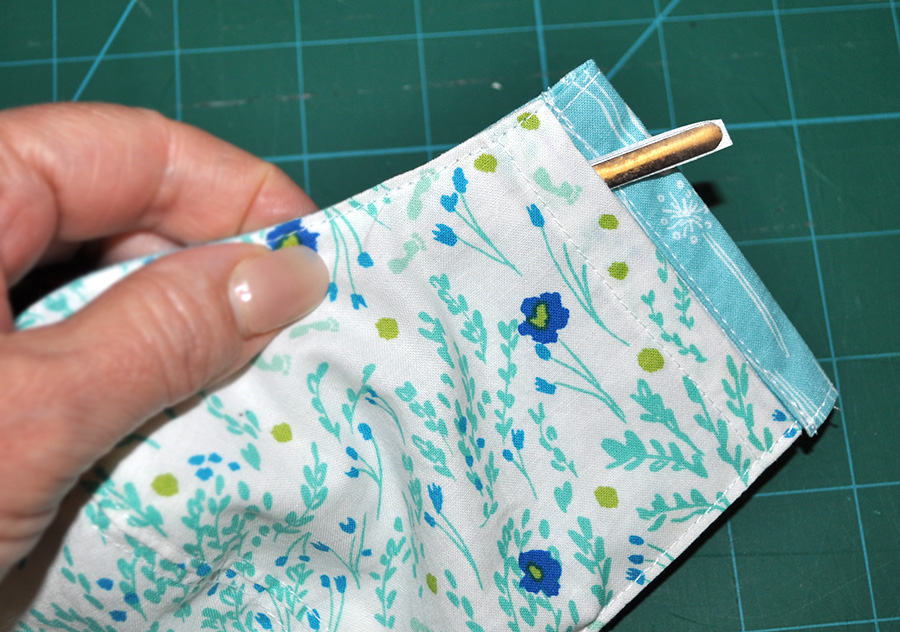
Optional Bendable Nose Piece

You can use bendable flat jewelry wire, florist wire or even a pipe cleaner to make a nose piece. If you use wire, bend the ends in so they’re not sharp. I had some old painting masks, so I was able to cut the bendable nose pieces off those to use on these new masks.

To make a pocket for the nose piece, mark the width of your nose piece (mine was 3”) on each side, with a small dot 3/8” from the top edge. Start at the top edge even with one of your dots, sew down 3/8” to the dot. When you reach the dot, pivot, then continue sewing a line parallel to the top edge until you reach the other dot.
Insert the nose piece from the open side.
Once you have the nose piece inserted, sew the open end from the top edge down to the dot. This will hold your nose piece in place.

If you like this pattern, please share using #stitchwerxfacemask on Facebook and Instagram! Be sure to tag us too! Thanks for using this Stitchwerx Designs pattern! Happy Sewing!

Posted in Free Patterns, Sewing, Sewing Patterns, Tutorials | Tagged , , , , , , | 37 Comments

Frozen Inspired Part Two: Ice Princess Elsa Dress + A Giveaway!

FacebookpinterestFacebookpinterestFrozen Inspired Princess Elsa DressOn Day Two of our Frozen Inspired Celebration and Giveaway, we are featuring an Ice Princess Dress inspired by Elsa. I used the Princess Party Dress Pattern from Mandy K Designs to make this stunning gown for our sweet little Ice Princess! This is such a versatile pattern that is perfect for making a variety of Princess Dresses!

The Princess Party Dress Pattern Sale continues through September 30, 2014. Save over 40% off the regular price when you purchase it here for Only $5: Mandy K Designs Princess Party Dress.

ICE PRINCESS ELSA-INSPIRED DRESS DETAILS

Frozen Elsa Princess DressI made very little changes to the original pattern when making our Ice Princess Dress.

Frozen Elsa Princess DressAfter consulting with my girl (a Princess knows what she wants), we decided to make the sleeves a bit more tapered and have points that came down on the top of the hands. I used the original sleeve measurements in the pattern to help me draft a slightly revised version.

We also wanted our dress to be floor length. Mandy’s pattern gives measurements for a knee length dress and instructions to calculate the correct skirt measurement if you want it longer. That made my job so much easier!

Frozen Elsa Princess DressSince Elsa has a very long cape, we also wanted our cape to be extra long. I ordered 2 yards of this beautiful snowflake organza for our cape and used it all. I cut the bottom in a curve so it makes quite a stunning train.

Frozen Elsa Princess DressFor practical purposes, we could not have this long cape dragging the ground all the time, so I added a cute little snowflake button in the back and sewed a loop on the cape so we could bustle it up. This will make it super easy for our little Ice Princess to haul in the candy during Trick-or-Treating!

I love how fast this dress was to make and, with the elastic at the neckline and waist, the fit is great! My girl also likes how simple it is to put on and take off. She said it’s super comfortable and really did not want to take it off after the photo shoot!

THE FACE & HAIR

I did quite a bit of research to find inspiration for the perfect Ice Princess face. I was a tad rusty with my face painting skills, so we practiced a few times before the actual day of the shoot.

Ice Princess Face PaintingLuckily my girl was very good at sitting still (and we took a few breaks along the way)!

This tutorial by Faerie Meadow was really helpful:

Ice Princess Face PaintingThe face of an Ice Princess!

Princess Elsa HairMy Little Princess does not quite have the hair that Elsa does, so we used hair extensions to make her braid nice and long.

Princess Elsa hair braidThanks Aunt Jamey for the excellent hair braiding!

THE PHOTO SHOOT

Frozen Inspired Ice Castle Photo backdropAs I said in yesterday’s post, we used this marvelous Frozen Inspired Ice Castle Photo Backdrop from Artful Life Designs. With a bit of faux fur, fake snow, and “Let It Go!” playing in the background, we were ready to take some amazing photos!

TRICK OR TREAT TOTE BAGS

Princess Elsa Trick or Treat Tote BagBoth Princess Costumes were completed with matching Trick-or-Treat Tote Bags. I modified my FREE One Simple Tote tutorial (by adding ruffles) to make quick and easy Frozen Inspired Trick or Treat Tote Bags.

THE GIVEAWAY!

Yes, there is a Giveaway with TWO LUCKY WINNERS!

Prize Package (one set for each winner):

The Contest Rules:

  • You must be 18 to enter.
  • You can gain entries by entering the Rafflecopter Prompts.
  • Giveaway ends: 9/14/2014 at 11:59 p.m. EDT
  • Two winners will be chosen and announced on 9/15/2014.

a Rafflecopter giveaway

If you missed our Snow Princess Anna-Inspired post, you can find that here:
Frozen Inspired Part One: Snow Princess Anna Dress, Free Templates + A Giveaway!

Princess Anna Hat & CapeThe Stitchwerx Designs Hat & Cape Pattern Bundle Sale continues through September 30, 2014! $10 for both patterns (to make the Princess Anna Inspired Hat & Cape).

Thanks for stopping by & getting Frozen Inspired with Stitchwerx Designs and Mandy K Designs!

Posted in Baby Clothes Patterns, Children, Giveaways, Kids Clothes Patterns, Sewing, Sewing Patterns | Tagged , , , , , , , , , , , , , | 7 Comments