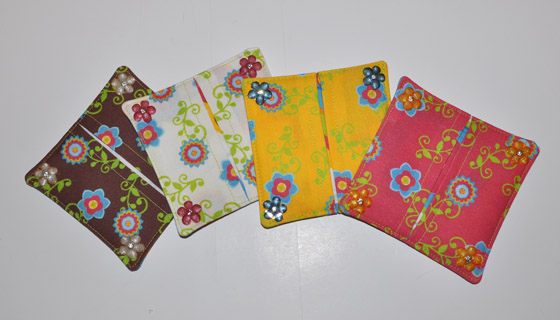
Slip-On Wine Glass Coasters with Charms Crafted from Original Stitchwerx Designs Retro Flower Garden Fabric Collection
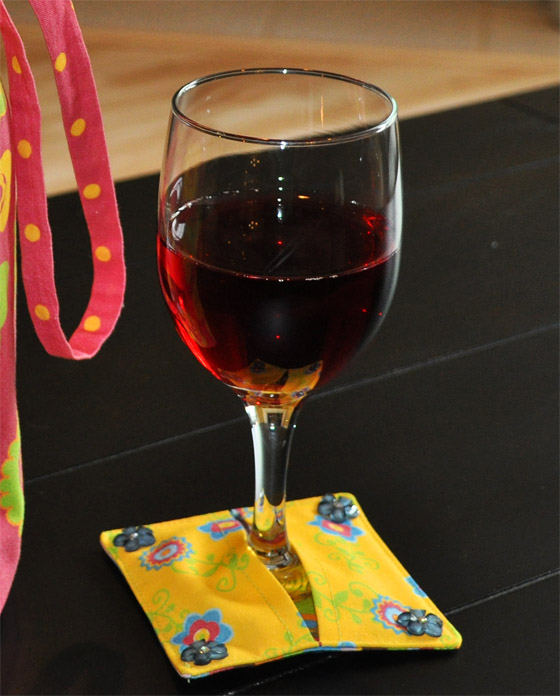
I wanted to make something to go with my recently designed wine bottle gift bag and came up with a Wine Glass Slip-on Coaster with a bit of a design twist.
Many of us have used those cute little wine glass charms at parties, so we can keep track of our glass, right? So this made me wonder, “How can I incorporate that idea into a slip-on wine glass coaster?” Here’s what I came up with. I rather like it. I hope you do too!
I made a set of 4 slip-on wine glass coasters using fabrics from my Retro Flower Garden original fabric collection available exclusively at my Spoonflower Shop. Of course, you can make a set of 6 or 8 or… well, you get the point.
The idea is to use fabrics that coordinate and look fantastic together, but keep each coaster unique. I added some cute embellishments on each corner as my charms. Each set of charms is a different color too, which helps with glass identification, plus it just adds a nice finishing touch.
What You Need For Each Coaster
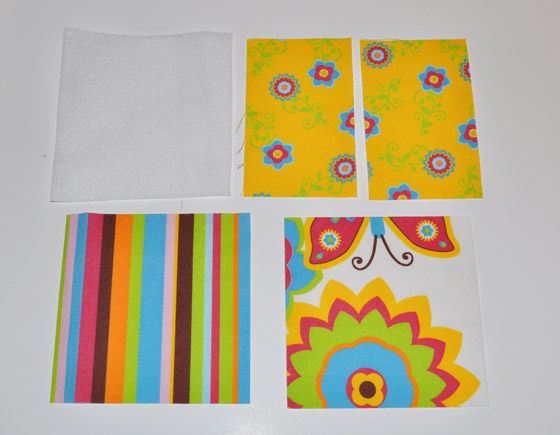
- (1) 4.5″ fabric square for coaster bottom
- (1) 4.5″ fabric square for coaster inside
- (1) 4.5″ lightweight batting square
- (2) 4.5 x 2.75″ fabric rectangles for coaster top
- (4) charm embellishments for corners
- hot glue/gun or embellishment glue (found at most fabric or craft stores)
I cut all my coaster bottoms from the same fabric and coaster insides from the same fabric. The tops were cut from different fabrics that blended well together, but were, of course, different. You can make each coaster from entirely different fabrics throughout, that’s up to you! I say, “Have fun and do what you like!”
Another note, I cut my fabric pieces using a rotary cutter and mat. You don’t have to do this, but if you are familiar with using these tools and have them available, it makes cutting your fabric fast and easy. Otherwise, I would suggest drawing templates from poster board or card stock and using those to trace around onto your fabric to cut your squares and rectangles as needed.
Coaster Construction
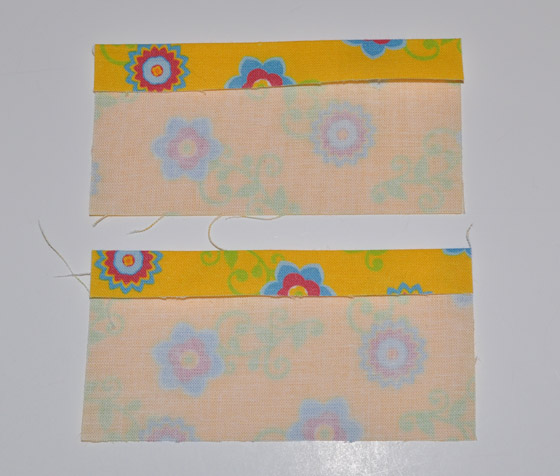 Once you have your fabric pieces cut, start with your two top rectangle pieces. Fold in 1/2″ to the wrong side on one long edge on each piece. Press in place.
 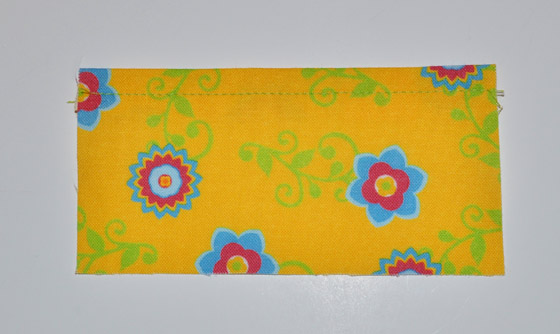 Top stitch 1/4″ from folded edge on each.
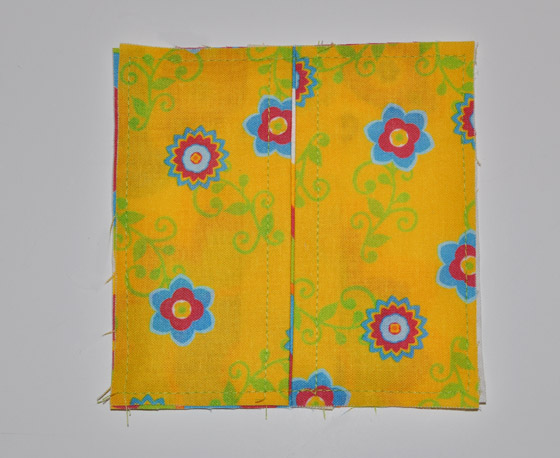 Place two top sections on top of inside fabric square-all are facing RIGHT SIDE UP. Baste together 1/8″ from edge.
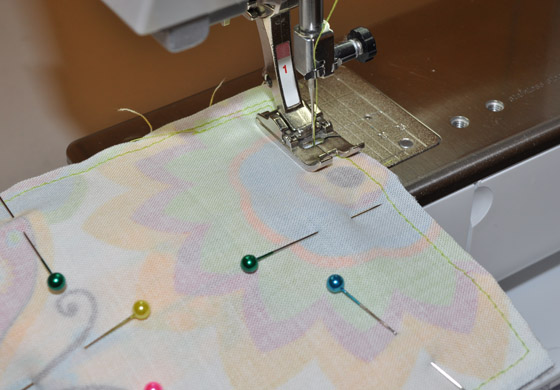 Assemble layers in this order: top section you just basted together RIGHT SIDE UP, Bottom square next RIGHT SIDE DOWN, finally Batting square on top of that so the batting square is on the wrong side of the bottom of fabric. Pin together and stitch around using a 1/4″ seam.
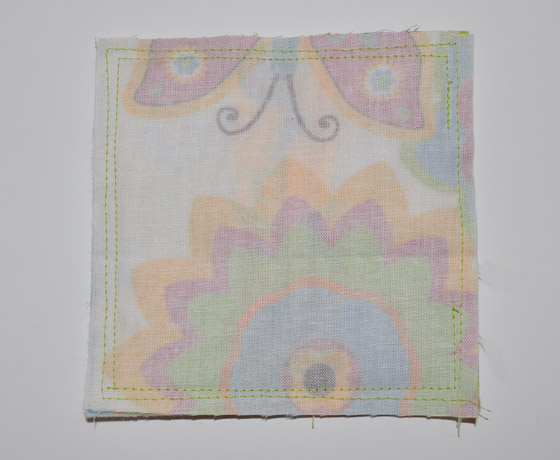 Leave about a 2″ opening on one side for turning. (Use a side that is running parallel with the top layer slit.)
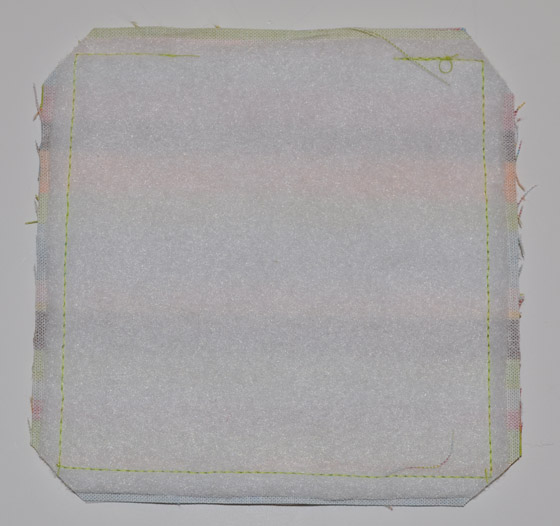 Reduce seam bulk by trimming the batting layer seam edge off 1/8″. Cut corners diagonally.
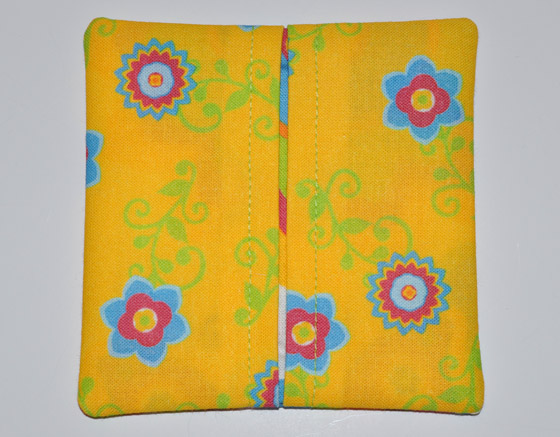 Turn coaster right side out through 2″ side opening. Turn side opening edges in to match seam line and press.
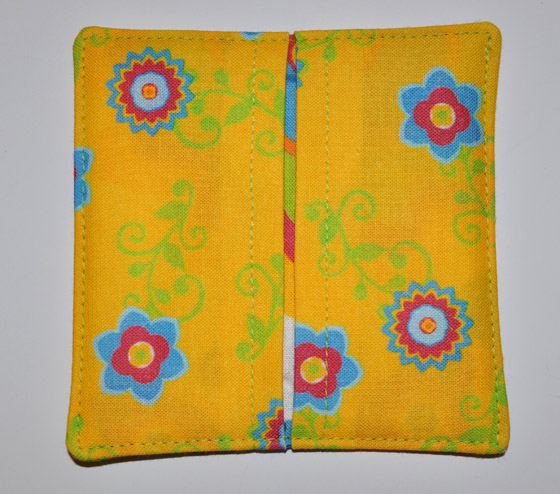 Topstitch 1/8″ from edge all the way around.
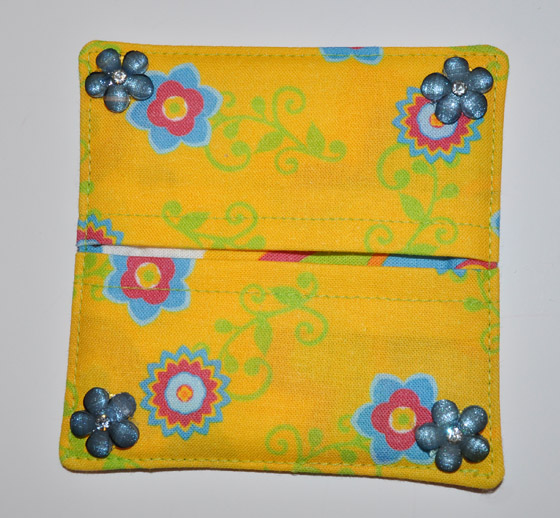 Glue charm embellishments on each corner and let dry thoroughly before use.
Make a set of these as a hostess gift, a bunco door prize, Christmas gift basket goodie or just a unique gift for a friend.
 If you like the fabrics I used to make my coasters, stop by my Spoonflower Shop to purchase any fabrics in my collections. Check out my Wine Bottle Gift Bag Tutorial for a charming wine bottle bag to go with your slip-on coasters!
Find me on:



2 Responses to Slip-On Wine Glass Coasters with Charms-Free Tutorial