Gathers are an essential design element in many clothing and home decoration sewing projects. I use them in several of my own patterns. Making gathers may seem intimidating, but with a little practice you can master creating and sewing gathers.
Gathers begin with two stitching rows on a long piece of fabric. The stitching rows are pulled to draw up the fabric. Lastly, the gathered fabric piece is sewn to a shorter piece of fabric.
The stitch length for gathering is longer than for sewing a regular seam. Use a stitch length of about 5 or 6 stitches per inch for medium weight fabrics. For lightweight or sheer fabrics, use 7 or 8 stitches per inch. Try out different stitch lengths with your chosen fabric to see what works best for you.
Before you stitch, loosen the upper thread tension. The bobbin thread is pulled up to draw up the gathers and using a looser upper thread tension will make that easier.
Sewing Basic Gathers
Note: This tutorial is written for sewing gathers using a 5/8″ seam allowance. If your seam allowance is 1/2″, move your two stitching lines in 1/8″.
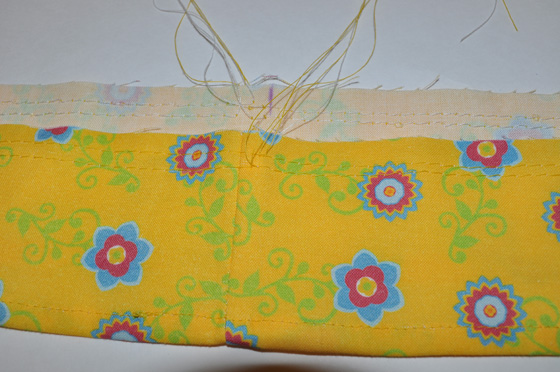 Step 1 Stitch 1/2″ from raw edge on right side of fabric, starting and ending at seamlines. Make sure you loosen your upper tension and lengthen stitches as discussed above. Stitch a second row in the seam allowance 1/8″ away from first row of stitching. The double row of stitching will make it easier to gather your fabric.
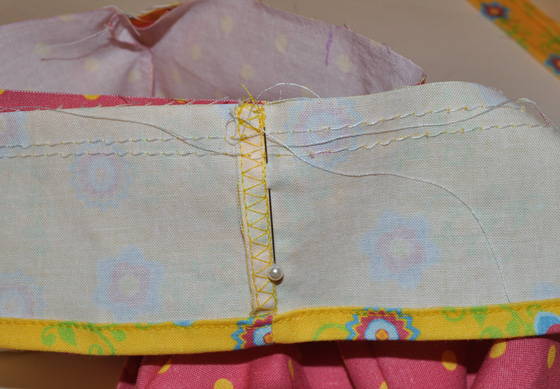 Step 2 Pin fabric right sides together to other fabric piece, matching seamlines, notches, center lines and any other markings. The fabric will be drooping between the pinned areas at this point.
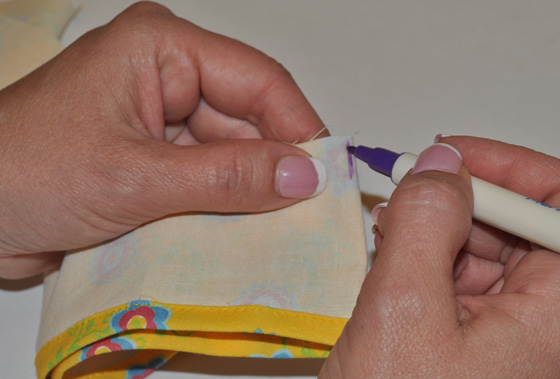 TIP: If there are no markings to help you line up your fabric pieces, fold each piece into quarters and mark fold lines with a washaway fabric pen. Pin fabric together lining up marks.
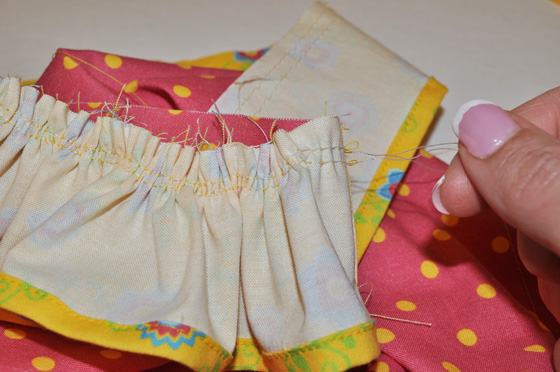 Step 3 Pull both bobbin threads from one end, sliding the fabric along the thread to make gathers. Once gathered fabric fits the straight edge, secure the bobbin threads by wrapping around the pins at the seams.
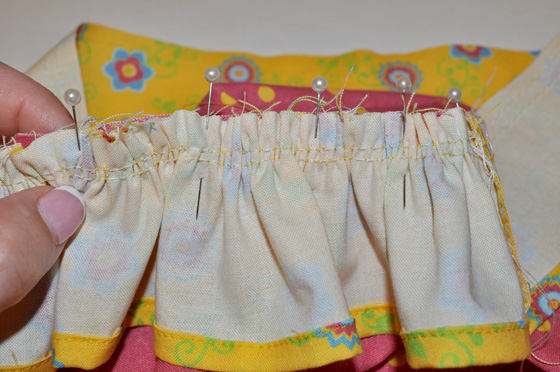 Step 4 Pin gathers in place at close intervals, keeping the gathers evenly distributed between the pins. Reset the length and tension on your machine for regular sewing.
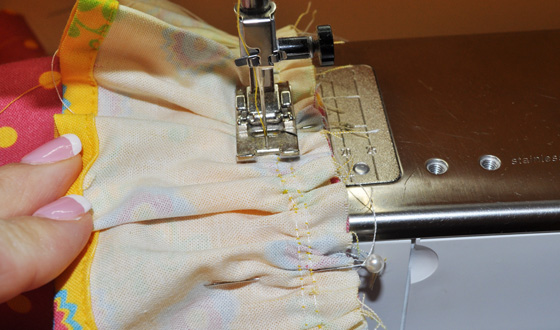 Step 5 Stitch seam with gathered side up, 5/8″ from edge. (This will be just outside your gathering lines.) Adjust gathers between pins as you go along. Hold gathers taut with fingers on both sides of the needle. This helps keep the gathers even and stop folds from catching in the seamline. (My photo does not show me doing this as I could not hold the fabric with both hands and take the photo, sorry!)
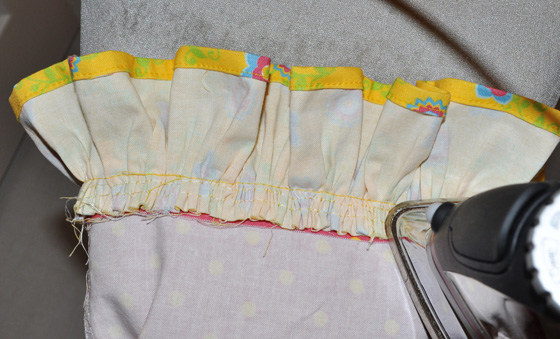 Step 6 Press seam allowance on wrong side using the tip of the iron. Turn garment to right side and press seam in the direction it will lie in the finished garment. Press seam toward gathers for a more puffy look, toward garment for a smoother look.
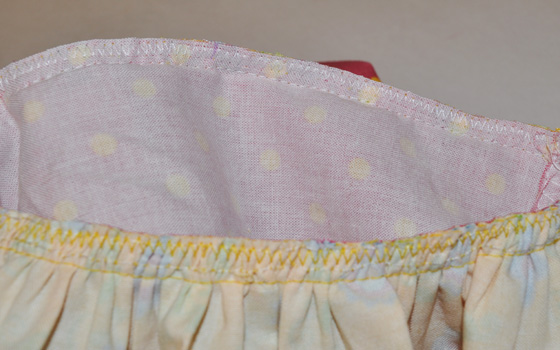 Step 7 Finish seam with zig zag or other finishing stitch and trim.
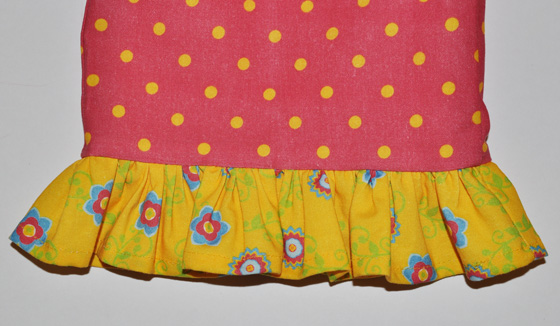 Here is the finished gathered ruffle sewn onto the pant leg.


Pingback: Free Pillowcase Dress Tutorial - Unique Vintage Pillowcase Dress Pattern | Stitchwerx Designs