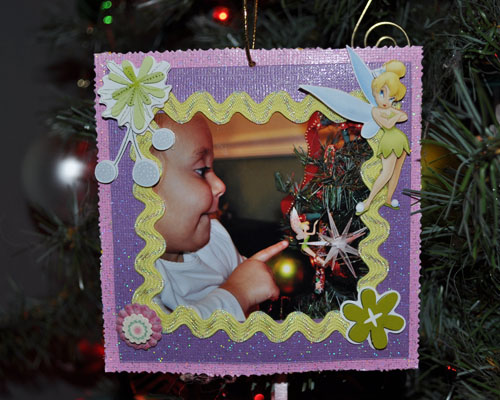
I love to do crafts with my granddaughter. Recently we made this photo frame ornament from scrapbook paper and other scrapbooking supplies. It was pretty easy and it made a great gift for Mommy and Daddy! Although this isn’t a needlecraft, I wanted to share it anyway.
 If you already scrapbook, you probably have plenty of supplies to complete this project. If not, a quick trip down the scrapbook supply aisle at your local craft store should have you in business in no time.
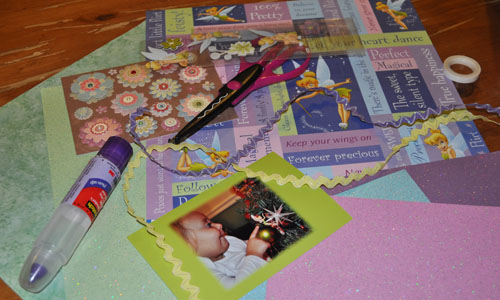 My photo featured my granddaughter helping decorate our tree with a Tinkerbell ornament that she really loves. Using that as a starting point, I picked out coordinating paper and decorations. Supplies you will need:
- Glue stick or glue pen
- Card stock weight paper
- Decorations such as dimensional stickers or rick rack
- Decorative Edge scissors (optional)
- X-acto knife & cutting mat (or a safe cutting surface)
- Marker
- Tapestry needle and string to hang ornament
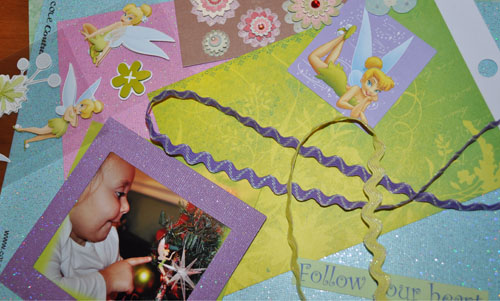 Since my granddaughter is only 2, I cut out all my pieces before I started the assembly with her. It was safer (since I was using an X-acto knife) and easier to have it all ready when she came over.
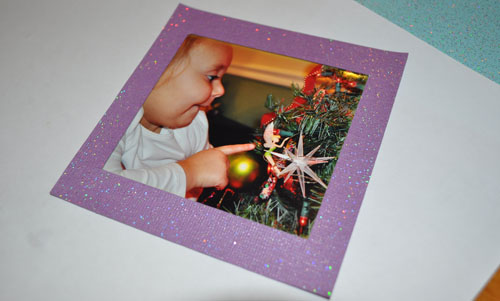 I used a card stock weight paper to make the inside frame. I cut a window about 1/4″ smaller all around than my photo cutout, so I could glue the frame over the photo. Use your X-acto knife and a straight edge to do this. Just make sure you are on a safe cutting surface.
 I wanted to use two colors, so I cut another square 1/4″ larger all around than my first inside border. I glued that to the inside frame and photo. This sandwiches the photo between the top frame and next layer.
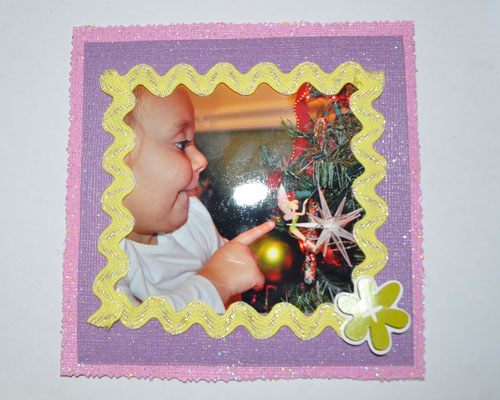 I added rick rack as an inside border. I cut out a back from regular weight scrapbook paper about 1/4″ larger than my frame. I glued the front to the back. After that dried, I used some decorative edge scissors to cut the outside edge all around.
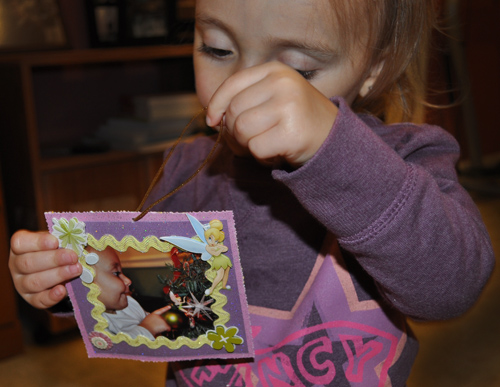
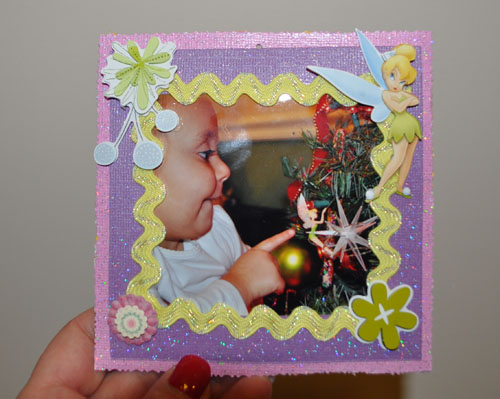 Here is our frame with stickers added. I used a tapestry needle to punch a hole for the hanger, but you can also use a small nail.
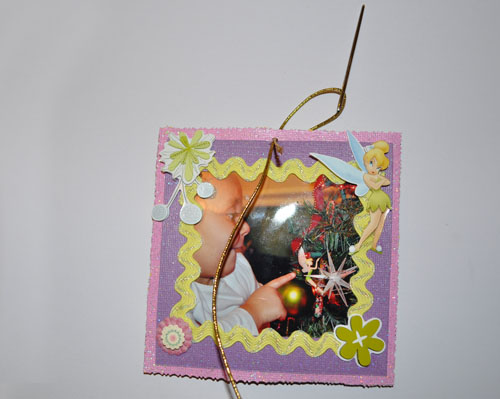 Using a tapestry needle makes it easier to insert your hanging string.
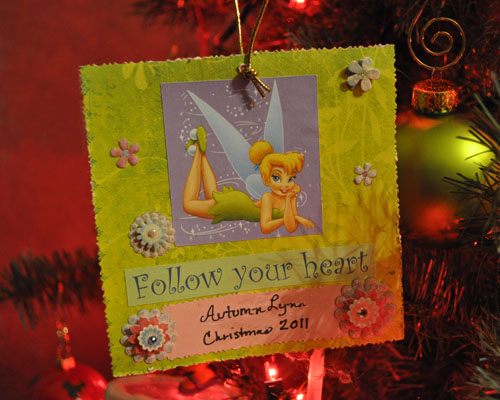 Here is a view of the back of the finished ornament. We glued decorations on the back and wrote her name and the year to make it a commemorative keepsake ornament.

