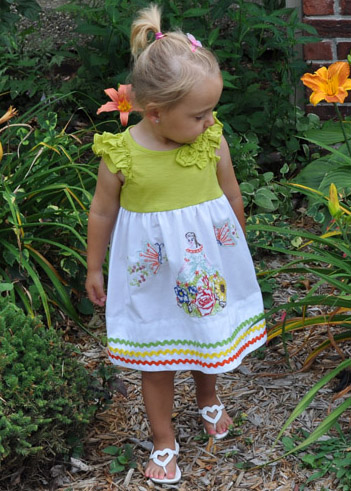
 I recently made this adorable dress using a vintage embroidered pillowcase and a purchased shirt. It was very simple to make and took less than 30 minutes to complete, so I thought this would be the perfect tutorial to share with you!
I was fortunate to have several lovely vintage pillowcases, hand-embroidered by my mother-in-law from which to choose. According to my husband, his mother, Mary, would sit most nights working on her embroidery projects. After her passing, we inherited several of her embroidered pillowcases. If you don’t have any family heirlooms readily available, don’t despair, you can check local flea markets, estate sales, or antique shops to find a vintage pillowcase that will work for you.
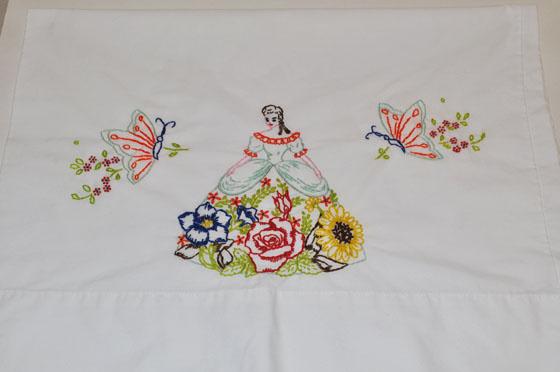 I wanted this to be a special dress for my granddaughter, so I choose a charming design with a beautiful southern belle, flowers and butterflies.
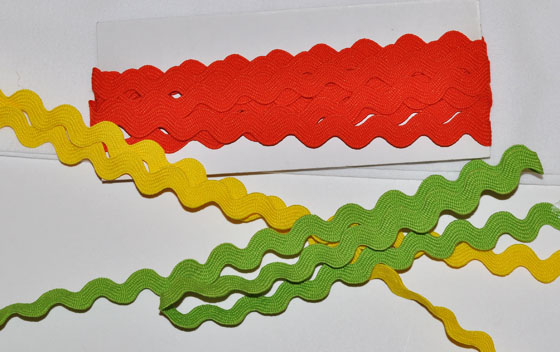
I bought a cute little green knit top at my local Target store and added some rick rack for trim. It’s that simple!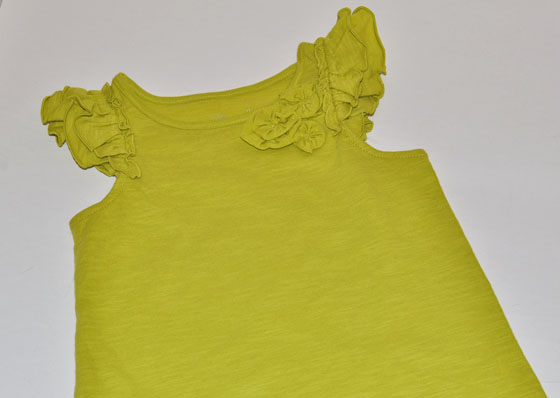
Making The Dress
Wash, dry, and press both your pillowcase and shirt. Measure your little girl to get the correct dress length. The average dress length for girl’s size 3 is 19″. (See the dress length chart at the end of this tutorial for other sizes.) This length worked perfectly for my granddaughter, so I used that overall length to determine my pillowcase skirt length and the shirt top length.
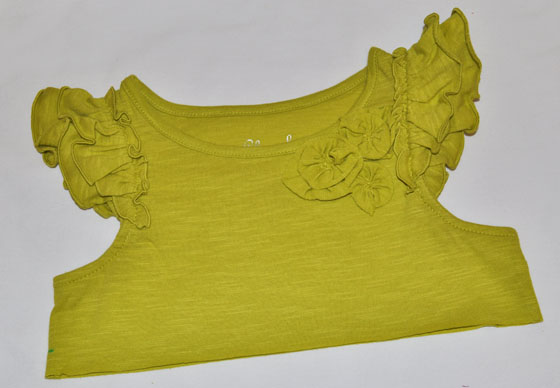 For the empire waist, measure down about 3″ below the bottom of the arm hole, then add 1/2″ for seam allowance. In my case, my shirt length ended up about 6″ plus 1/2″ seam allowance.
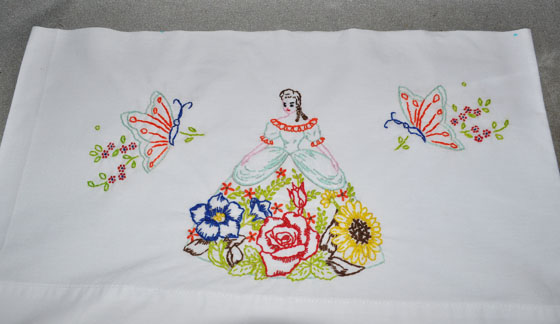 I cut my pillowcase for the skirt portion 13 1/2″ long (13″ for skirt plus 1/2″ for the seam allowance). This made my overall dress length 19″.
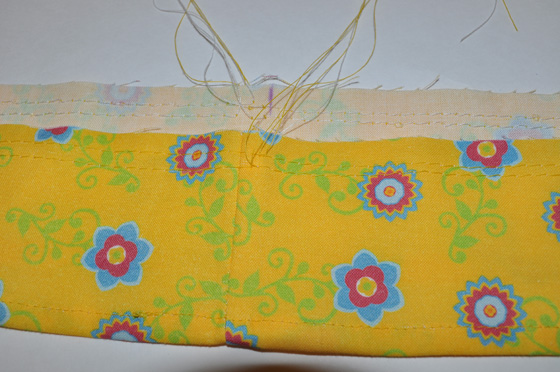
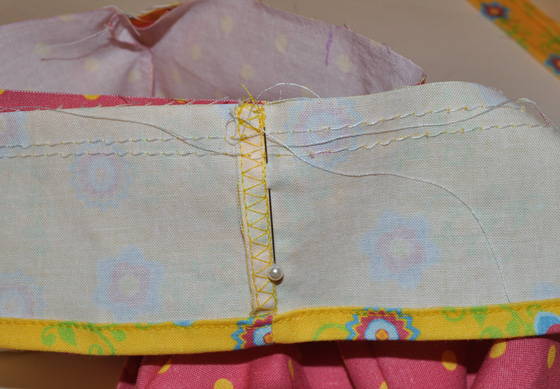
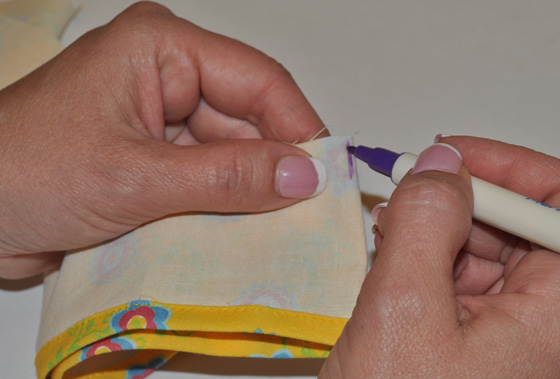
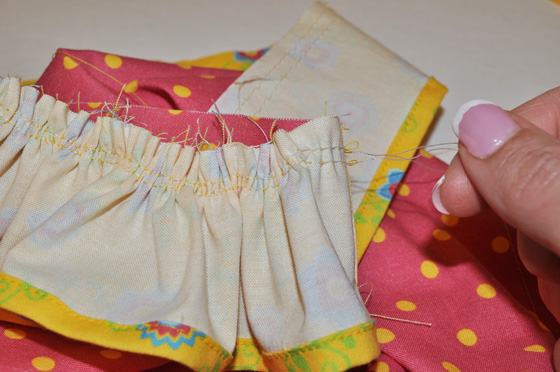
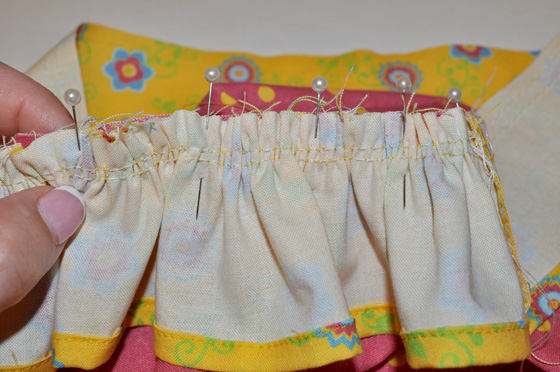
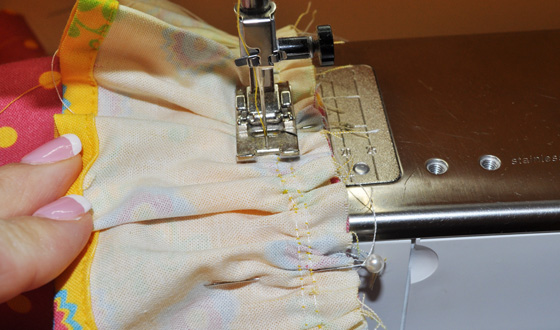
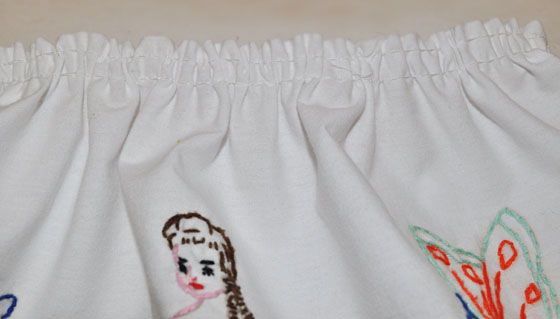 Use a very long stitch length to stitch 3/8″ around top edge of pillowcase. Don’t back stitch and leave long threads to pull up for gathering. Repeat 1/4″ from top edge of pillowcase. Pin skirt to top at side seams right sides together. To gather, pull up bobbin thread in both rows of stitching from one end. (For more detailed instructions on sewing gathers, visit my post, Sewing Gathers.)
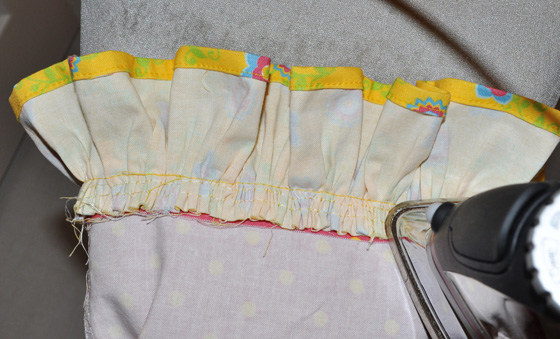
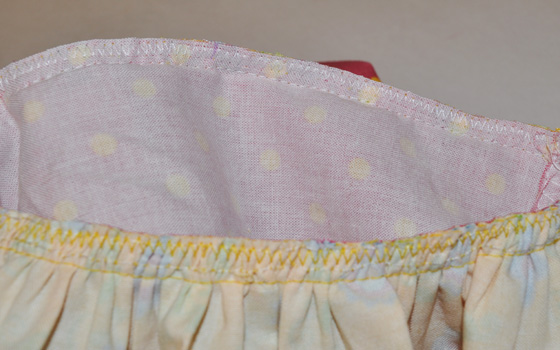
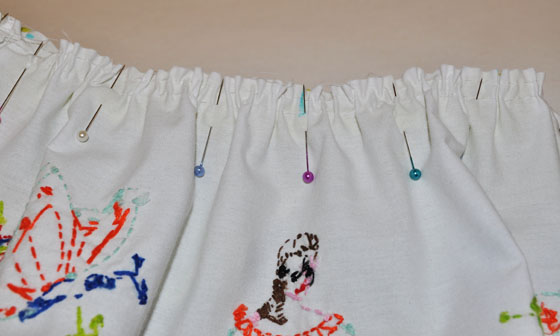 Once you have your gathers pulled up the right amount and evenly distributed around, pin the pillowcase skirt to lower edge of shirt top at close intervals, then stitch all the way around, gather side up. Finish seam and trim.
 Add rick rack or other trim/embellishments for a lovely finishing touch to your dress.
What I loved most about this project is that my granddaughter now has a very special dress made for her by her Grandma and her Great-Grandma!
Dress Length Chart
| Size | Length |
|---|---|
| 1 | 17″ |
| 2 | 18″ |
| 3 | 19″ |
| 4 | 20″ |
| 5 | 22″ |
| 6 | 24″ |
I would love to see your pillowcase dress creations, so please feel free to share!
Everyone loves a party! Look for me at these fabulous Linky Parties!

