Make Your Own Pom Poms

FacebookpinterestFacebookpinterest

Make Your Own Pom PomsMy daughter recently taught me this fabulous way to Make Your Own Pom Poms! Until now, my pom poms were not that great. I just wound the yarn around 3 or 4 fingers, tied it in the middle and clipped the ends. Sad, oh, so very sad, indeed! Now my Pom Poms are excellent!

Materials Needed:

  • Cardboard
  • Scissors
  • X-Acto knife (small utility knife)
  • Yarn
  • Something round to draw a circle (or a compass will do)

Let’s Get Started!

Draw Circles

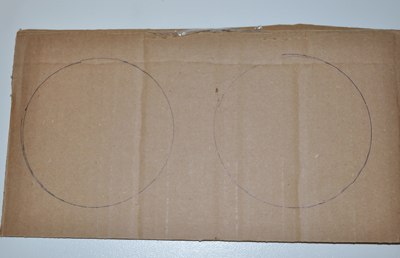
Draw Circles on Cardboard

Use a compass or circular object to draw two pom pom circle templates. Things that work great for tracing include: a solo cup, small tupperware container, or coffee cup.

Cut Circles

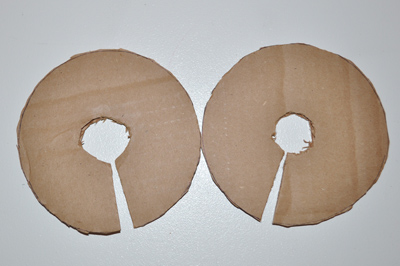
Cut Templates as Shown

Cut these templates out, then cut a slit in the side and a smaller hole in the center. I used my handy X-Acto knife to cut the center holes because it is much easier than using scissors. This is a good time to cut a piece of yarn about 6-8″ long. Keep this handy for tying your pom pom.

Wind Yarn Around Templates

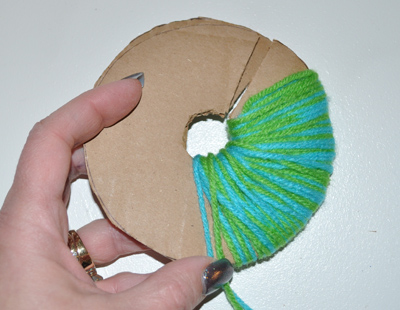
Wind Yarn Around Templates

Next I sandwiched my two circle templates together and wound my yarn as shown around and around, using the open slit to more easily get it in place. Keep winding until it is pretty full all around. The more you wind, the fluffier the pom pom.

The Tricky Part!

Hold Firmly in Center and Cut Yarn Around Outside Edge

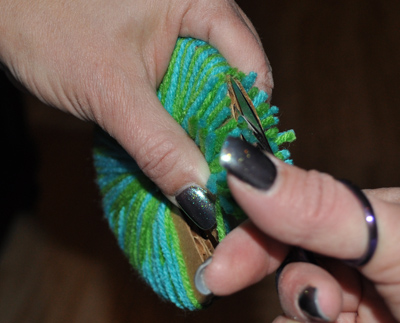
Hold Firmly in Center and Cut Yarn Around Outside Edge

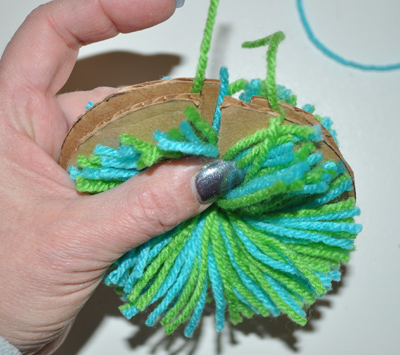
Hold the yarn/templates firmly in the center while cutting all around the outside edge. You are cutting in the groove between the two cardboard templates. Be careful not to let the yarn slip off while you thread your yarn tie between the two templates. (It helps to have another set of hands if someone is available, but I was able to do this by myself.)

Insert Yarn Tie Between Two Templates

Insert Yarn Tie Between Two Templates

Insert your Yarn Tie between the two templates.

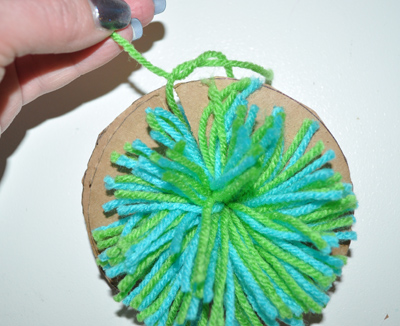
Tie Yarn A Couple of Times

Tie Yarn A Couple of Times

Tie the yarn and pull tight to secure your pom pom in the center. Tie it a couple of times to get it secure.

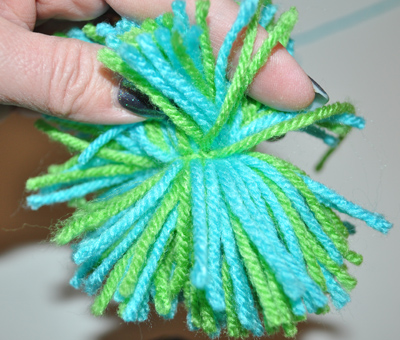
Close Up View of Tied Yarn

Close Up View of Tied Yarn

Once you tie the center yarn securely, you can pull your pom pom loose from the template. This is also where the slit comes in handy.

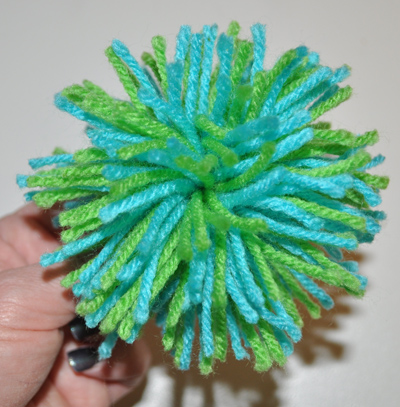
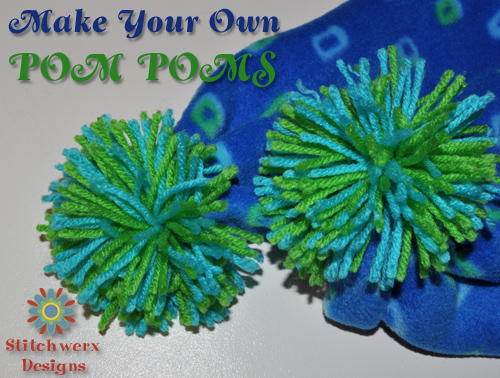
Finished Pom Pom

Finished Pom Pom

Trim up straggly pieces of yarn to give your pom pom a nice even shape. Here is a finished Pom Pom! Depending on the type of yarn and the amount you wind onto your templates, you can get a variety of pom pom looks.

What can you do with these pom poms you ask? There are all sorts of uses including putting them on knitted booties, hats or scarves. Have fun making your own Pom Poms!

 
Everyone loves a party! Look for me at these LINKY PARTIES!

Posted in Tutorials | Tagged , , , , , | Leave a comment

A Gown for a Little Princess

FacebookpinterestFacebookpinterest

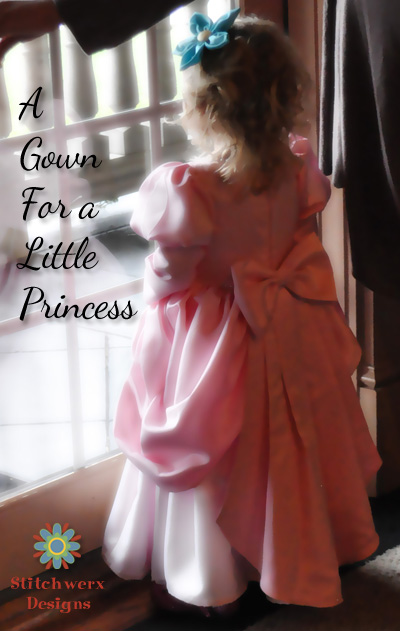
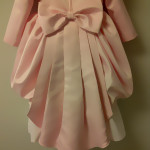
Princess Ariel Gown BackMy three year old granddaughter absolutely loves Princess Ariel.

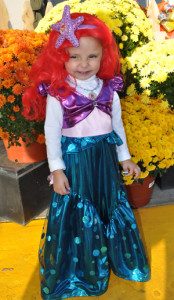
Our Little Mermaid modeling her Ariel Halloween Costume

Our Little Mermaid modeling her Ariel Halloween Costume

For Halloween, she Trick-or-Treated as the Little Mermaid in a costume Grandma made just for her, so it was no surprise she wanted to celebrate her birthday as Princess Ariel in her very own custom made gown.

I had a couple of princess gown patterns, so I pulled those out to see what might work best. Some quick research on the internet and I had a good visual reference for making the perfect Ariel gown. I quickly realized that although there are several little girl princess gown patterns available, none of them quite matched Ariel’s gown.


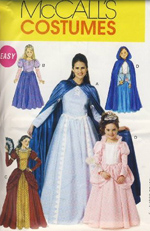
mccalls M6420 sewing pattern

I decided McCall’s M6420 sewing pattern was closest to the gown style I was looking for, but I needed to make some alterations in order for it to match Ariel’s gown style.  Ariel’s dress required a round neck line without an inset or corseted upper bodice.


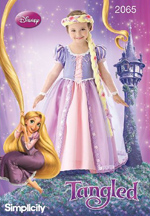
simplicity 2065 pattern

Simplicity pattern 2065 Tangled gown had the upper bodice neckline similar to what I was looking but it still had an inset.  Luckily I was able to use the upper bodice front and back lining pieces from that pattern since those pieces did not have the inset.

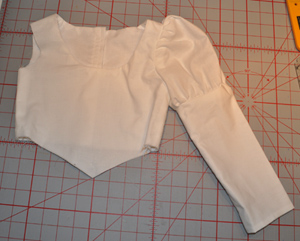
Using my granddaughter’s measurements, I adjusted the pattern pieces and cut my muslin for the upper bodice and sleeves. Once I had that complete, we did a quick fitting. Fortunately, I only needed to make minor adjustments to the upper body section of the gown.

Princess Gown Bodice Muslin

Princess Gown Bodice Muslin

NOTE: It’s important when making any custom garment to take accurate measurements of the recipient to ensure a proper fit. I always make a muslin first to check the fit. This may seem like a lot of extra work, but it is well worth it in the end.

Other Alterations

The sleeve caps in my reference image showed contrasting insets. I was able to simulate the look by drafting a pattern piece I then used to make those sleeve sections.

The only other alteration I made was lengthening the gathered overskirt to match Ariel’s gown style. That was easily done by adding a few inches to the overskirt pattern piece.

After constructing the actual gown bodice, we did another fitting and checked measurements for the skirt and bustle length. Once I had my measurements, I cut and constructed the underskirt (lining), the skirt and bustle.

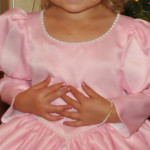
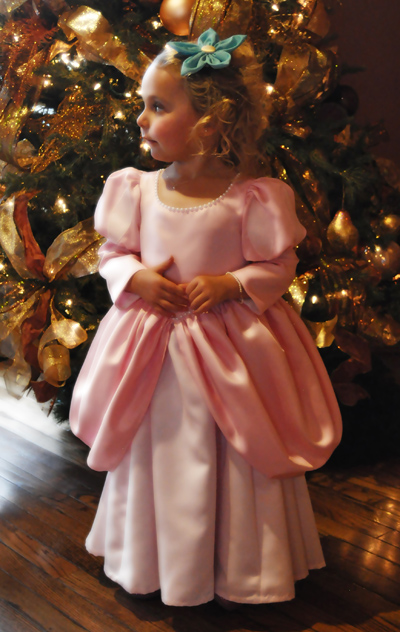
I chose Pongee for the gown lining and underskirt and added lace trim to the underskirt. The gown was constructed in two colors of pink satin and trimmed with a simulated pearl beading at the neckline and waist. The bustle/bow was detachable. I also made a flower bow from teal satin to match the one Ariel wore in her hair.

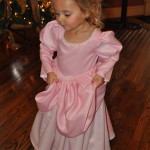
Princess Ariel Gown Photo Gallery

My advice to anyone making a custom garment such as a gown is to take your time and pay attention to detail. I am not the most patient seamstress and usually like to work on projects that can be completed more quickly. By allowing myself ample time, I was able to break this project up into shorter work sessions, so I didn’t get tired or frustrated (which in my case usually leads to a careless mistake).

Our Little Princess wearing her Ariel Gown and enjoying her Special Day

Our Little Princess Wearing her Princess Ariel Gown and Enjoying her Special Day!

Happily, in the end, our Princess Ariel gown was a perfect fit and ready in plenty of time for the big day. Our little Princess loved wearing her special gown on her very special day!

Posted in Sewing | Tagged , , , , , , , , , | Leave a comment