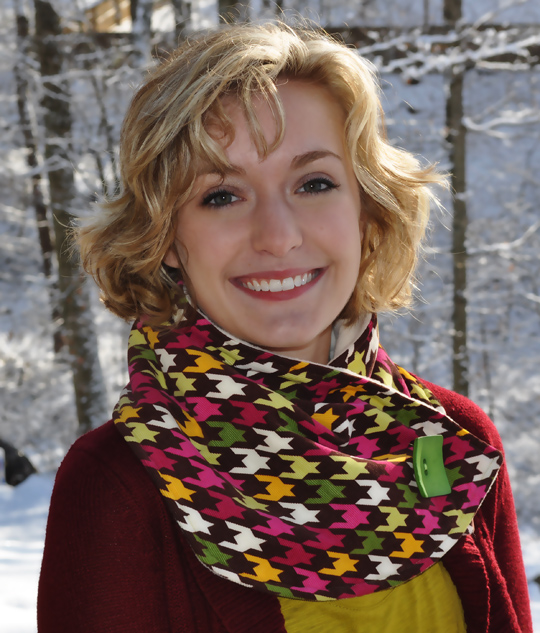
 The recent snow is my inspiration for this Free Neck Warmer Sewing Pattern, the first tutorial in a series of easy-to-make winter accessories.
This Neck Warmer Scarf is fast and really simple to make. I made this one in about 30 minutes from start to finish! It’s simple to create endless Neck Warmer Scarf designs from this one basic pattern by using various fabrics and embellishments.
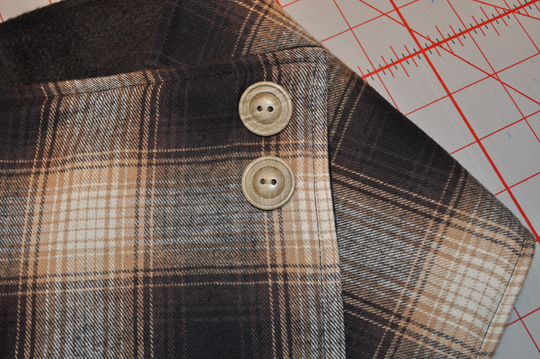
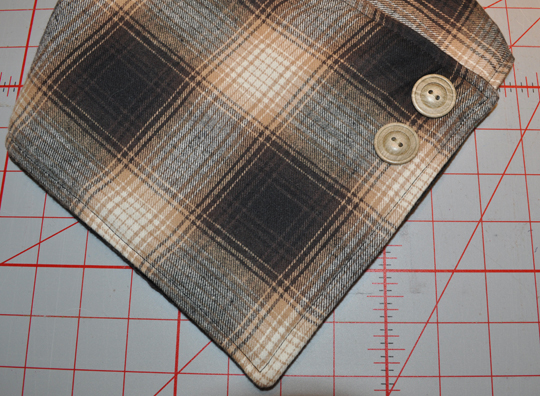
To decorate my Neck Warmer, I added a couple of buttons. You could also use a fabric flower such as any of the ones included in my Country Day Headband and Flowers pattern found in my etsy shop.
I love vintage jewelry, so I think a brooch from your favorite antique shop or flea market would also be an excellent embellishment for your Neck Warmer.
You’ll Need These Supplies:
- Wool, wool blend, woven cotton, cotton flannel, lightweight corduroy or similar fabric for front
- Fleece for back
- Embellishments such as decorative buttons, flower or brooch
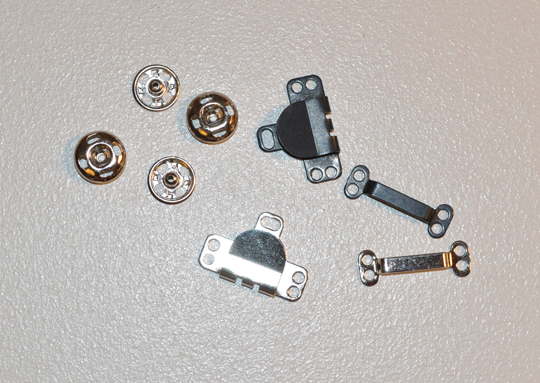
- Large snap
- Sewing machine
- Hand sewing needle
- Matching thread
- Scissors
- Rotary Cutter & Mat (optional, but makes it much easier to cut panels)
- Washaway Fabric Marker
Let’s Get Started!
My Neck Warmer has a finished size of 28″ x 8″. To make it, cut one front panel of fabric 29″ x 9″. This allows for 1/2″ seam allowance all around. Cut your fleece backing the same size. I used a rotary cutter and mat, but if you don’t have them, you can use scissors instead.
Pin right sides together and stitch around leaving an opening about 5″ long on one short edge for turning.
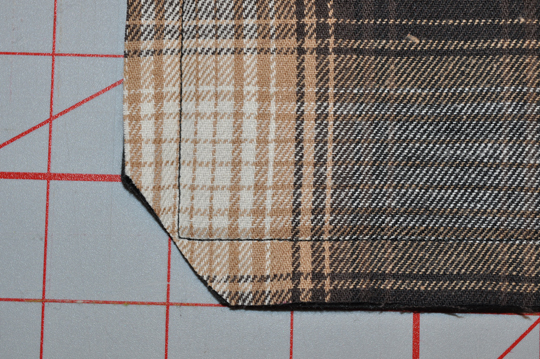
Clip corners as shown above to reduce bulk which will make a nicer corner when turned right side out.
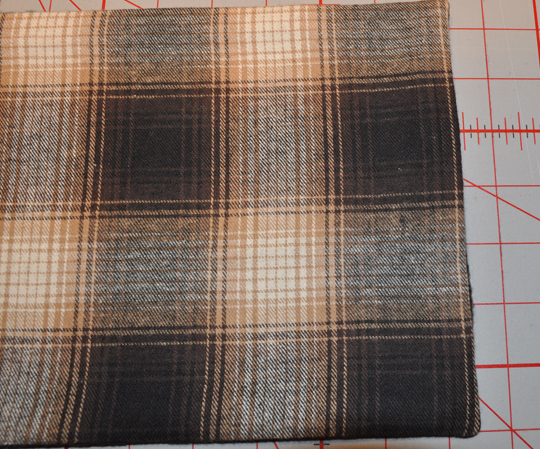
Turn Neck Warmer right side out and press. Fold in the fabric on the side opening to match seam line.
Use a Ladder Stitch to close the seam. I love the Ladder Stitch because it is invisible, so the seam has a nice finished edge. Follow the link to read a photo tutorial on how to do the Ladder Stitch.
Note: The ladder stitch is done by forming the stitches directly across from each other and through the fabric folds so they aren’t visible on the right side.
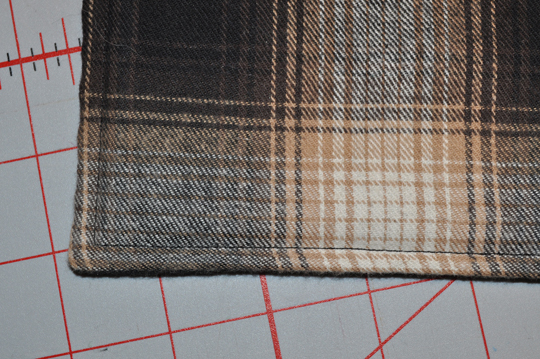
After closing the side seam, topstitch 1/4″ all the way around your neck warmer. Now you are ready to add embellishments and the closure.
To finish, attach buttons or other embellishments to Neck Warmer as desired.
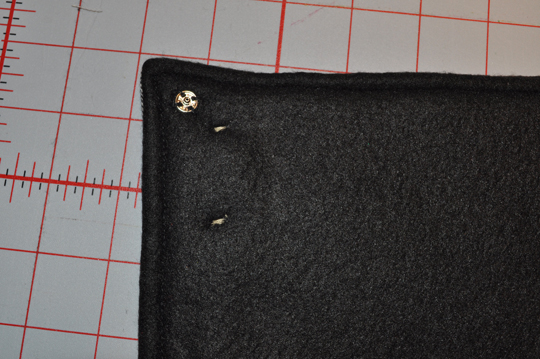
Sew the post section of your snap on the back (fleece side) in the upper left corner.
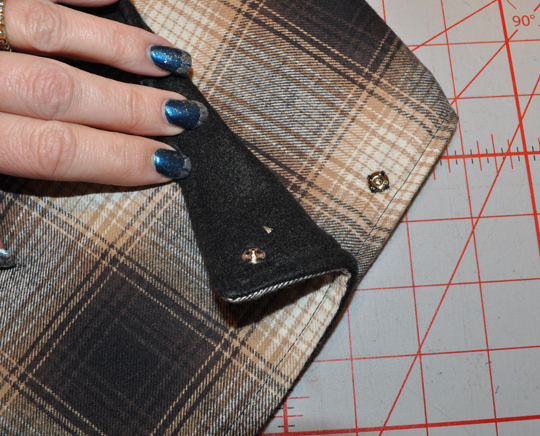
Fold your Neck Warmer as shown above to help determine where to sew the socket piece of your snap on the front panel.
Sew socket piece to front panel as shown.
You could also use a slide (hook) closure instead of a snap. I’m all about using what you have on hand that will work.
My daughter wanted a Neck Warmer that was longer and wider, so I made one for her that was 30″ x 10″.
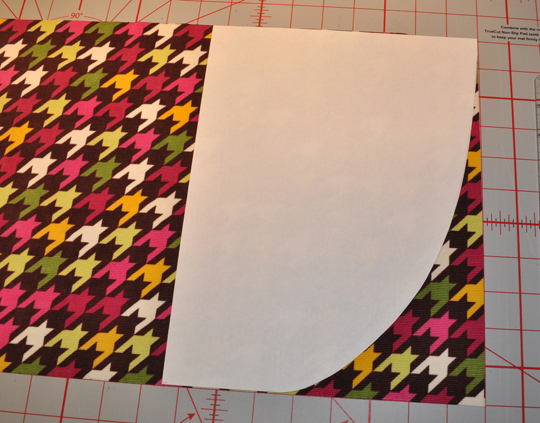
I cut my panels 31″ x11″, then I cut a curved lower edge as shown just for a different look. I first drew it on a piece of printer paper and cut it as a template. It’s not difficult and you can trim your template until you get the curve you want.
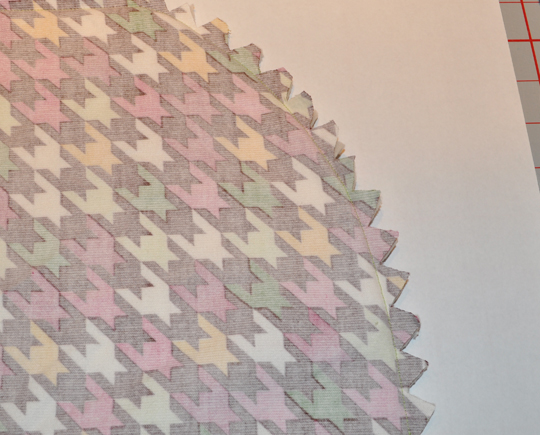
Sew together the same as the first Neck Warmer, but make sure you clip your curves and your corners before turning for a smooth edge.
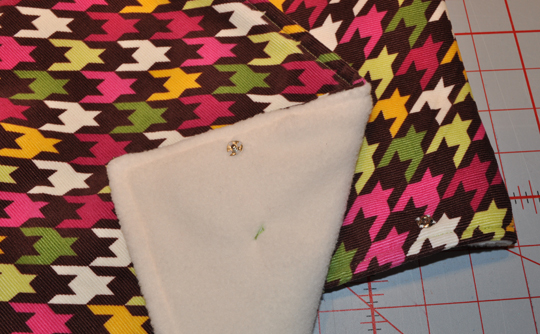
To get the snap placements where I wanted, I put on the Neck Warmer, adjusted it until I was pleased with the fit, then marked the snap position with a washaway fabric marker.
You can see by this photo that I positioned the snaps differently than for the original Neck Warmer. I think this is really a personal preference depending on how you want your Neck Warmer to lay.
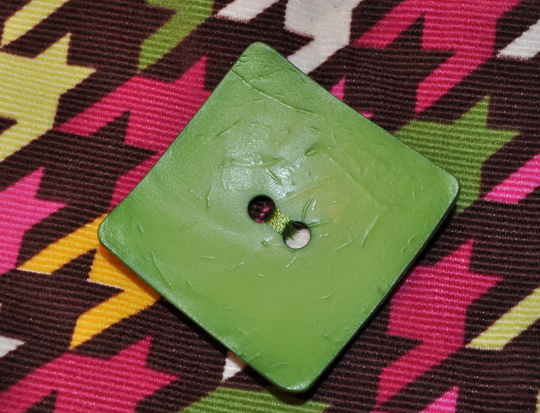
I found this funky green button on one of my shopping expeditions. I think it adds the perfect touch to my finished project.
Use your imagination to create a variety of looks from this basic pattern. How about adding trim around the edge or loops on the front edge and buttons for closures? A colorful embroidered motif would be lovely on a solid color Neck Warmer as well! I would love to see what you design! Please feel free to post design suggestions, comments or photos! As always, Happy Sewing!
Everyone loves a party! Look for me at these LINKY PARTIES!





8 Responses to Free Neck Warmer Sewing Pattern Tutorial