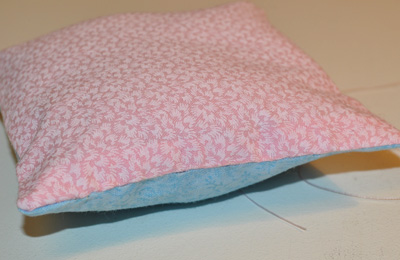
This is a photo tutorial showing how to do the Ladder Stitch. I love the Ladder Stitch and use it frequently for closing seams in projects such as pillows, stuffed plushie toys, or any seam I need to close with an invisible stitch. It also works great for repairs.
The Ladder Stitch is formed by placing the stitches directly across from each other and through the fabric folds so they aren’t visible on the outside. In this tutorial I am using black thread so you can see the stitching, but of course you would want to use matching thread for your project.
Start by pinning your two sides together with the folded edges lined up with the machine stitched seam line. Insert your needle into the seam back just a little into the machine stitching bringing the needle up so you can hide the knot.
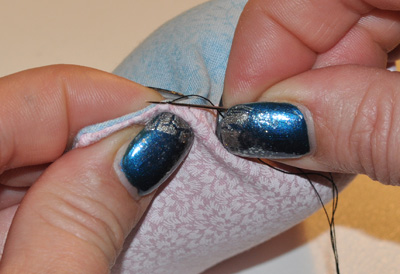
Now insert your needle into the fold of one side bringing it out right on the foldline about 1/8″ over.
Next insert your needle into the fold of the fabric directly across from your first stitch, bringing it out through the fold about 1/8″ over.
Continue going back and forth making stitches into the fold directly across from one another.
Give the thread a little tug every few stitches to tighten it up and make the stitching disappear into the seam.
When you get to the end of your opening, bring your needle up through the seam just a few stitches into the machine stitching.
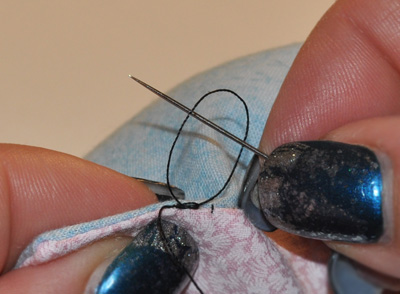
Insert your needle again into the seam catching a machine stitch.
Bring your needle out, forming a loop with your thread. Pass the needle through the loop and pull tight. Repeat this to get the thread secure.
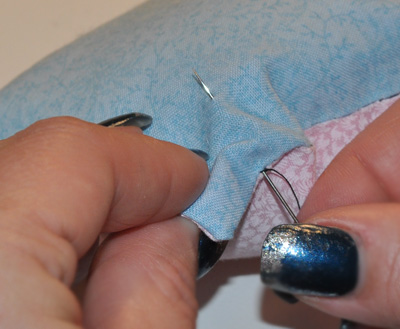
Once you have secured your thread, put the needle directly into the seam again and bring it out about an inch or so away in a random spot.
Give thread a tug to pull your knot down into the seam.
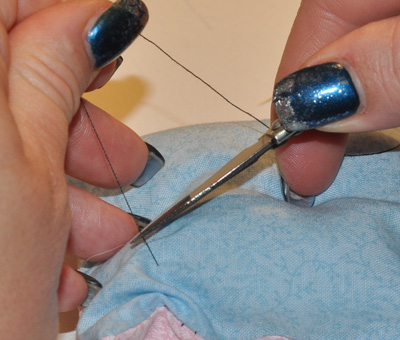
Snip thread off. It will just disappear back into your work.
Here’s a sample of a ladder stitch seam using matching thread.


