

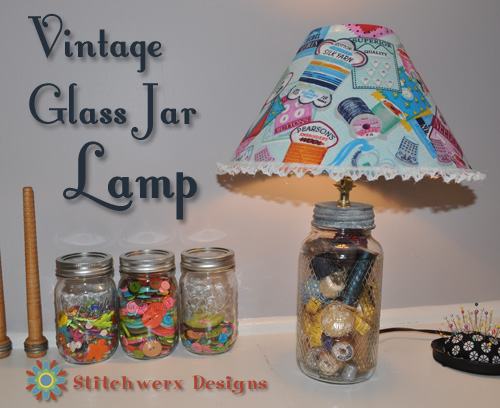
I got a couple of great vintage glass coffee jars during my trek last year on the 400 Mile Yard Sale. I knew I wanted to make a lamp for my studio since we were remodeling, so I purchased the set with that in mind. I made a lamp with one and the other is a cute counter decoration in my kitchen.
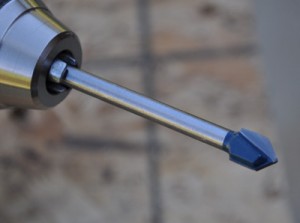
Bosch Glass Tile Drill Bit
I had never made a lamp or drilled a glass jar before, so I did a little research first. I learned that having a drill bit specifically designed for glass (as well as a lot of patience) was the key factor to successfully drilling the cord hole in a glass jar.
I went down to my local Home Depot and purchased a Bosch Glass & Tile Drill Bit. My Home Depot guy told me he had actually drilled holes in some bottles using this bit. He said it worked great for him, but just be sure to go very slowly especially near the end. Great advice! (Thanks HD Guy!)
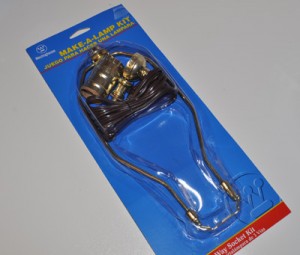
Make A Lamp Kit
I also purchased a lamp kit while I was there, but the kit I got did not have the lamp nipple and the lock nuts I needed to complete my lamp, so I had to make a second trip to get those parts. (Personally, I think something labeled “Make-A-Lamp Kit” should actually contain all the metal & electrical parts you need to make the lamp!)
My photo (below) shows the lamp kit with the harp attached, but the lampshade I bought did not require a harp, so I just took it off. You might need the harp depending on what kind of shade you decide to use.
You Will Need This Stuff:
- Glass Jar
- Glass & Tile Drill Bit
- Drill or Rotary Tool
- Silicone Carbide Sandpaper
- Marker
- Safety Goggles or Glasses
- Work Gloves
- Spray Bottle filled with Water
- Work bench with Boards to Brace your Jar
- Lamp Kit
- Screwdriver
- Pliers
How I Did It:
My husband set up a nice bench for me outside the garage and nailed a couple of 2 x 4″ boards down so my jar nested right in there. If you can do this outside, I recommend it-just in case your jar does break!

Drilling the Hole In the Glass Jar Outside on my Workbench
Note: I have also seen photos of people using a plastic tub filled with sand and sticking the jar in that to hold it steady while drilling. I have not tried that, but I think it would probably work fine.
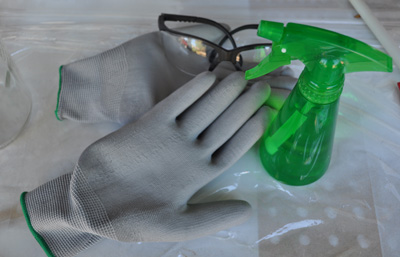
My Safety Gear Included Work Gloves & Safety Glasses
Safety is very important, so make sure you are using all the proper safety gear which includes safety goggles/glasses, heavy duty work gloves, and a long sleeve shirt. Make sure you have some experience using a drill before trying to drill into a jar!
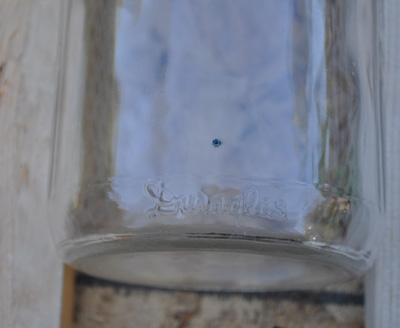
Mark Position for Hole with a Permanent Marker
Use a permanent marker to mark the spot to drill your hole.
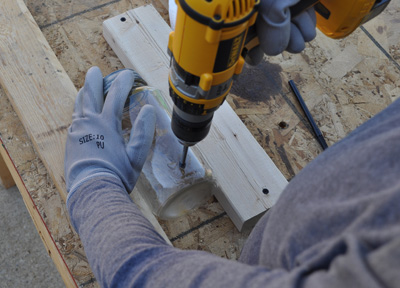
Drill Slowly and Spray Frequently with Water
Drill slowly and use your water spray bottle every few minutes to keep the glass wet. It took me about 40 minutes to drill the hole in my jar. I cannot stress enough the importance of patience! If your hands get tired, stop and take a break, but don’t speed up!
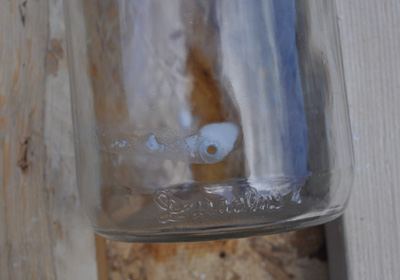
Small Hole in Glass Jar
WARNING: If you try to drill the hole too quickly, you will break your glass jar and shards of glass will go everywhere!
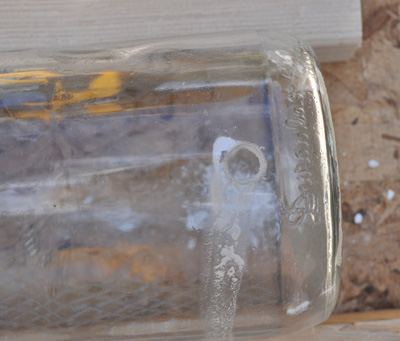
Finished Hole Ready to Buff Lightly with Silicone Carbide Sandpaper
Once you have the hole drilled, you can buff it smooth with the silicone carbide sandpaper.
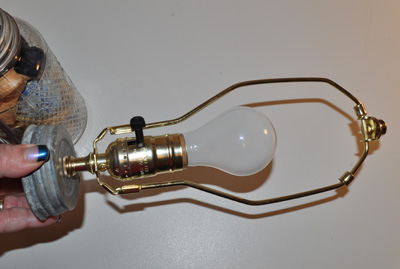
Assembled Lamp Kit Attached to Jar Lid
Follow the instructions included with your lamp kit to assembled the lamp working parts. You will need to drill a hole in the lid of your jar, but that is pretty easy to do to a metal lid.
I had never assembled a lamp before, so I was worried I couldn’t do it. Well, I did it completely by myself with no problems whatsoever! It really was not difficult at all. So, don’t worry if you have never done it before, if I can do it, you can too!
Filling the Jar
My lamp is for my studio which is a combination sewing room, design studio and office. I pretty much do it all down here! Yes, people, this is where the “Magic” Happens!
Side Note: By “Magic”, I mean “sewing, sketching, designing, drafting, crafting, writing, reading, researching, billing, buying, paying, emailing & facebooking while watching Netflix in my PJs all day”. (Ok, yes, some days I do get dressed before noon!)
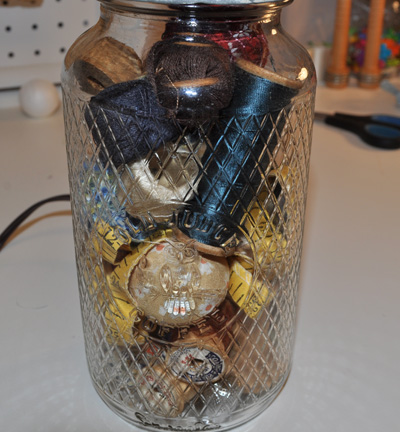
Vintage Sewing Accessories In Glass Jar
I wanted my lamp to be unique, express my love for all things vintage, and add personality to the room. I had collected a lot of vintage sewing items including thread spools, needles, a tape measure, buttons and thimbles, which I decided would work perfectly for this project. I also made some fabric covered balls to add color and help fill the jar space.
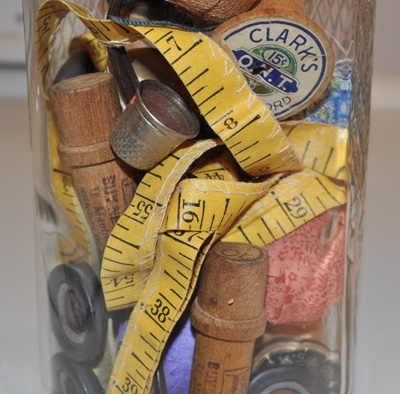
Another View of the Filled Glass Jar
Side Note: I found a few tutorials on making the fabric covered balls, but my favorite is Fabric Decorative Vase Fillers from Landee See, Landee Do.
Of course, you can fill your glass jar with whatever you like: For a beach house, sea shells would be great, and marbles or glass beads would be lovely in any room. How about shredded color paper? I thought legos might be cute for a kid’s room! The possibilities are pretty endless, so just use your imagination to come up with something Uniquely YOU!
The Lamp Shade
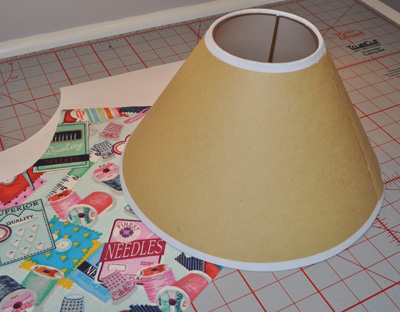
Ready-to-Cover Lamp Shade
You can purchase a finished shade for your lamp or get one and cover it like I did.
I got my Ready-to-Cover Lamp Shade at Hobby Lobby. These are pretty inexpensive and come in a variety of sizes and shapes.
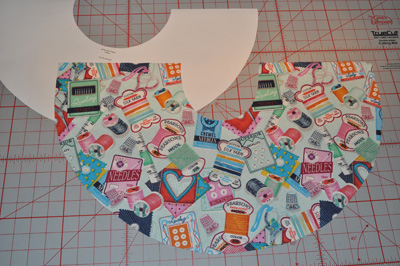
Fabric Cut from Lamp Shade Template
Use the paper template that comes with the shade to cut your fabric. Instructions are included with the shade, but it is really simple. Once you have your fabric cut, peel the protective sheet off the shade to expose the adhesive.
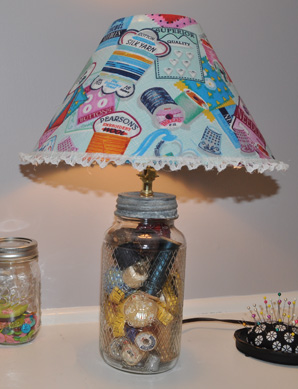
Finished Glass Jar Lamp
Wrap the fabric around the shade. You will need some fabric glue for the overlapping fabric and to glue down the fabric when you fold it over the edges. I had some lace in my ribbon box, which I thought worked well as trim for the bottom.
My finished Vintage Glass Jar Lamp is now happily illuminating my studio! What would you use fill a glass jar lamp? I would love to hear your ideas!
Everyone loves a party! Look for me at these fabulous Linky Parties!
 What’s new in the Stitchwerx Designs Shop? How about a hat inspired by something old? If you have been to my shop, you can see that I LOVE Vintage Styles, so it is no surprise that the 1920’s Flapper Style helped inspire my latest design, the Azalea Cloche. The Art Deco period is one of my favorite fashion eras so I draw inspiration from that period quite often.
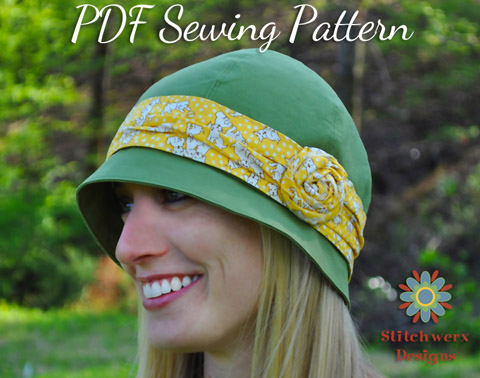 Although it is newly released, the Azalea Cloche is quickly becoming a shop favorite as it is a stylish choice for fashionable ladies of all ages. Sizes range from babies to adults. Dress it up or make it casual depending on your fabric choices.
 This Digital PDF pattern comes with additional instructions to make a ruched band, fabric flower & bow.


