There are several seam joining techniques one can use in crochet. Depending on the piece, you may use more than one technique. Here are some of my favorites:
Whipstitch Seam
This seam joining technique works well when joining straight edge seams together. Hold right sides together, insert needle from front to back through inside loops only, bring needle through and around. Repeat this across.
Slipstitch Seam
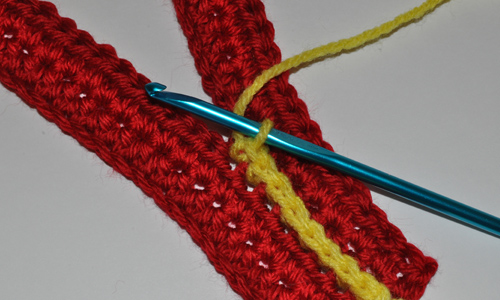
The Slipstitch Seam is one I like to use because it is so easy. Make sure you don’t work your stitches too tightly though or you could pucker your seam. With right sides together, draw up a loop through both loops on each piece, insert hook into next seam and draw up a loop. Repeat this across to complete the seam.
Weave Seam
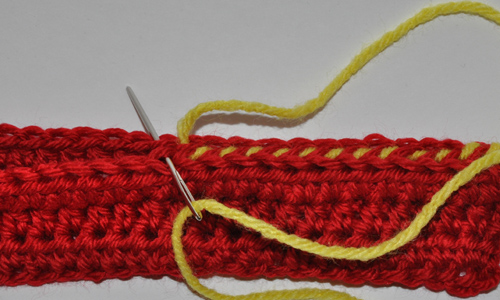
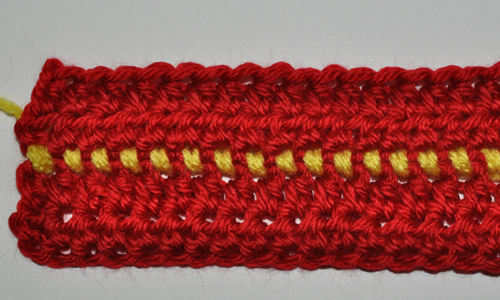
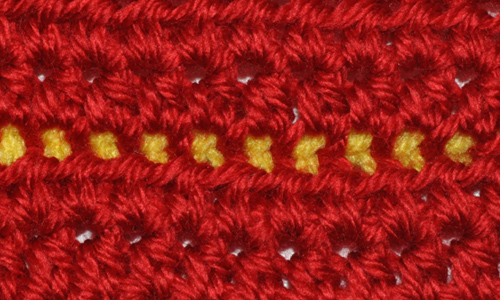
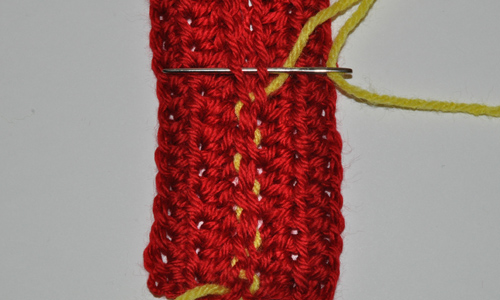
This gives you a really flat seam. Place pieces to be joined side by side with the wrong sides up. Insert the needle from the right to left, through outside loops only, draw through, move to next stitch, bring the needle from left to right (not over), and continue this pattern to complete the seam.
Single Crochet Seam
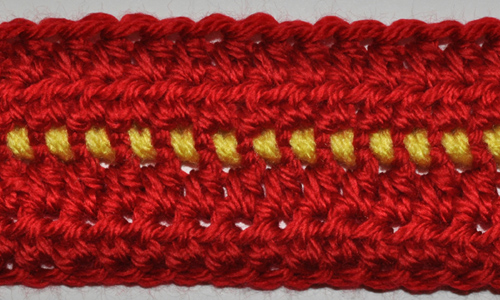
Using the single crochet is a decorative seam joining technique. Hold pieces wrong sides together, work single crochet through both stitch loops on each piece. Continue to the end of the seam.





One Response to Crochet Seam Joining Techniques