 I wanted to do a free pattern related to Valentine’s Day, so I took a break from designing patterns for the shop and came up with this cute Valentine heart applique throw pillow sewing pattern. As I was thinking about what I might want to design as a pattern in honor of Valentine’s Day, I remembered something my daughter said to me years ago and that was my inspiration for this pillow pattern.
“What did she say?” (I thought you’d never ask.)
Well, here is the story. (I’ll make this brief so we get to the actual pillow tutorial, but all mother’s will appreciate this, I think.) One evening my daughter (who was around 4 at the time) and I were cuddled up in the chair together when she said to me, “Mommy, when you love someone, your heart beats faster.” And I said, “I guess it does.” To which she replied, “My heart beats faster for you!” Now that was just about the sweetest thing I had ever heard and I will always remember that moment. My daughter is 19 now and away at college, but she is still my little valentine and guess what she’s getting for Valentine’s Day? (Surprise, DD, if you are reading this!) Now on to the tutorial!
Valentine Heart Throw Pillow
First your will need to download the PDF pattern by clicking on Valentine Heart Pillow Pattern.
Materials
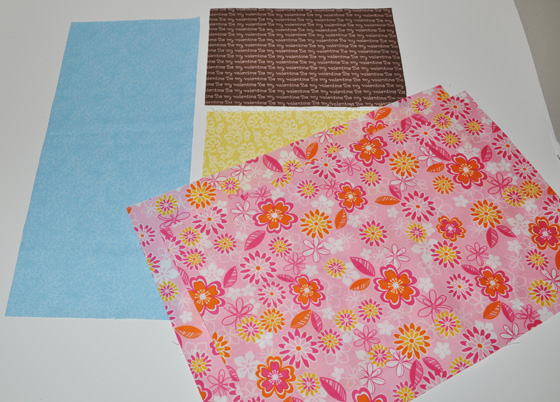
- Fabric for each block & scraps for appliques (Fat quarters will work nicely)
- Washaway or disappearing Fabric Marker
- HeatnBond lite or other fusible web product
- Embroidery Needle and Thread
- Decorative Trim (around pillow edge)
- Rick rack or ribbon
- Scissors
- Sewing Machine
- 14″ Pillow Form to insert into your Valentine Pillow Case
Instructions
Important Notes: Seams between blocks are 1/4″. Seams around outside of pillow are 5/8″. Print out your applique motif patterns and tape together the pattern for block # 1. Make sure you print out patterns at 100% so they will fit your blocks. Follow manufacturer’s instructions for HeatnBond lite or whatever fusible web product you are using. This pattern fits a 14″ pillow form.
Cut Fabric:
- (2) 10″ wide X 15 1/2″ tall pieces of fabric for the pillow back
- Block #1/Pillow Front: 6 3/4″ wide X 15 1/2″ tall
- Block #2/Pillow Front: 9 1/4″ wide X 6 1/4″ tall
- Block #3/Pillow Front: 9 1/4″ wide X 9 3/4″ tall
For Applique Shapes, iron HeatnBond (or whatever fusible web you prefer) to wrong side of your fabric pieces for each motif before you trace and cut them out.
Trace motif shapes onto your fabric and cut out.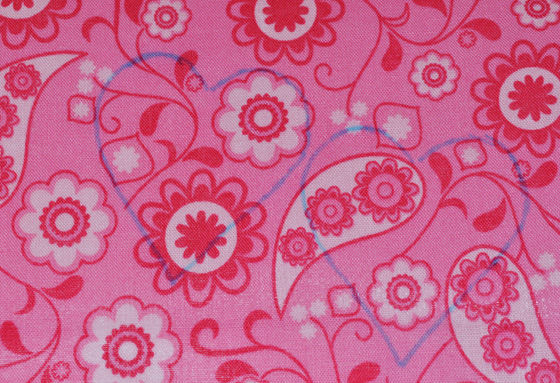 Trace embroidery and applique placement lines from your patterns, centering between seam lines on each block.(Remember, there is 1/4″ seam line between blocks and 5/8″ around outside of pillow so don’t get too close to the pillow edge.)
Following the guidelines on your blocks, fuse your motifs in place. Sit these aside for now and we’ll work on the back.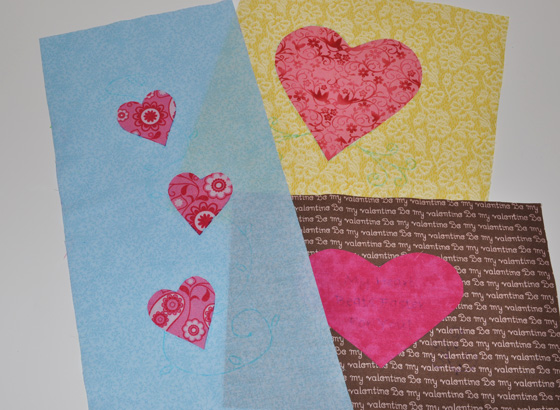
Your two 15 1/2″ x 10″ fabric rectangles will overlap to form the back of your pillow case. One edge on each has to be hemmed so the look neat and pretty. Lay your pieces side by side. The inside edges of each are the ones that need to be hemmed.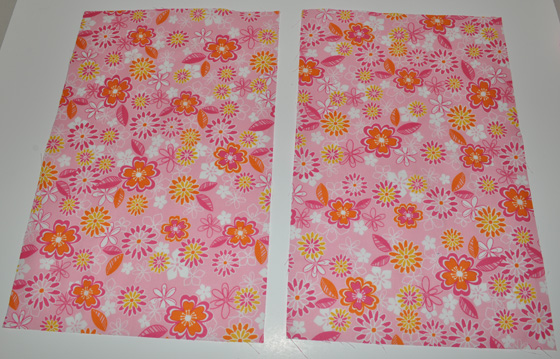
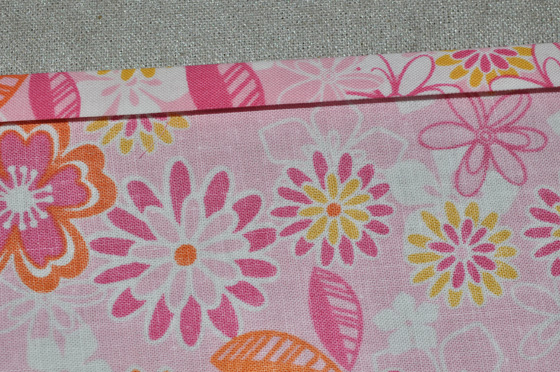
The other edges will be sewn into the pillow’s outside seam. For each rectangle: turn edge under to the wrong side 1/4″ and press.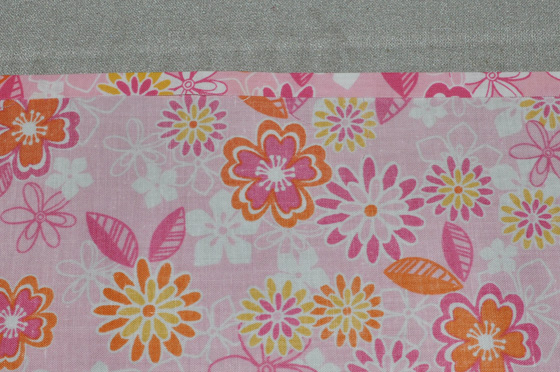
Stitch near folded edge to complete the hem. Set these aside for now.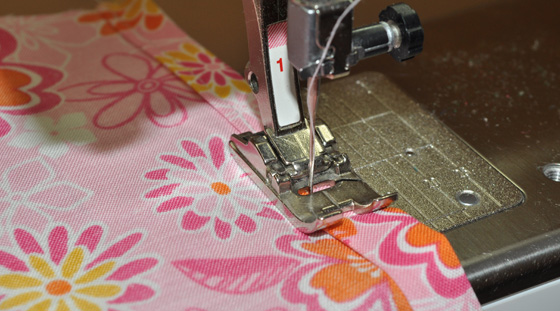
Front Pillow Block Assembly
With right sides together, sew blocks 2 and 3 together according to the pillow front diagram. Don’t forget your seam allowance is 1/4″. Press seam flat.
This is where I added rick rack lining it up over my seam and stitching it down. You don’t have to add ribbon or rick rack here, but it’s a nice touch.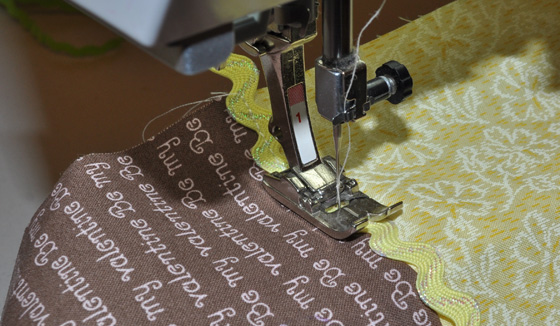
Sew Block #1 to your assembled blocks 2 & 3. Press this seam flat. Again, add more rick rack or ribbon over this seam if you like.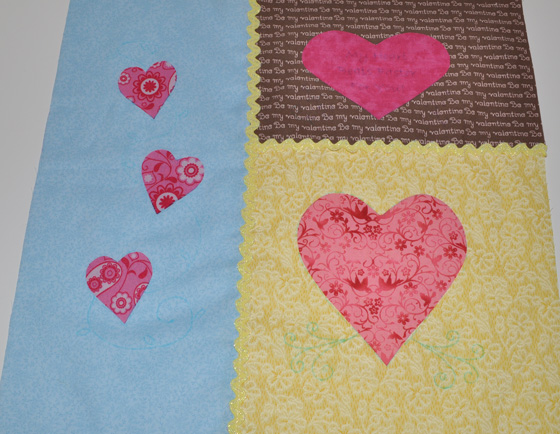
Applique The Motifs
Your motifs are already fused in place, now you can either machine or hand applique them. I chose to do the Blanket Stitch by hand around all my motifs because I think it is quite charming.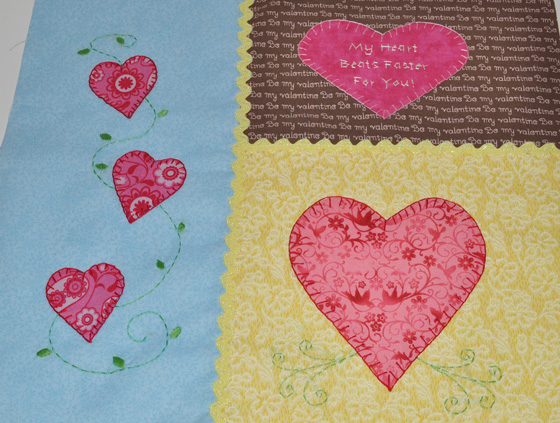
The other embroidery stitches I used are the Running Stitch and the Satin Stitch. Click on each of the stitch names to go to the corresponding tutorial at Sarah’s Hand Embroidery Tutorials. This site is a treasure trove of hand embroidery information! Just a little side note, don’t let the hand embroidery intimidate you if you have never done it. (These are three pretty easy stitches and if I can do it, so can you!)
After you have stitched down your motifs, follow your guidelines to add the other hand embroidery stitching. Once that is done, press your pillow front again.
Finishing Your Pillow
Now it’s time to put those two back pieces together. Lay them down, overlapping them so that they form a 15 1/2″ square. Pin edges together where they overlap and baste together 1/2″ from edge on top and bottom.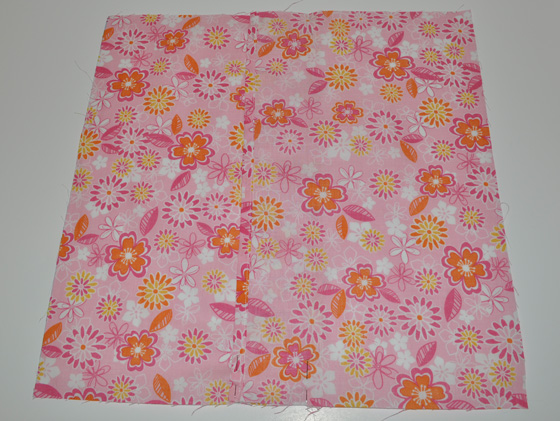
Pin your pompon trim to pillow back by lining it up with the edge on right side of pillow back and baste in place 1/2″ from edge.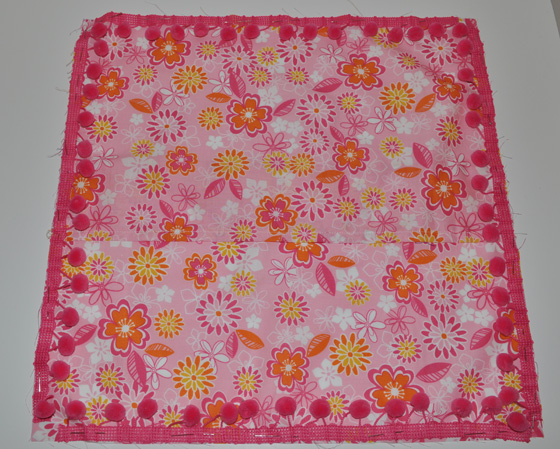
Once the trim has been basted in place, pin your pillow front to your pillow back with right sides together.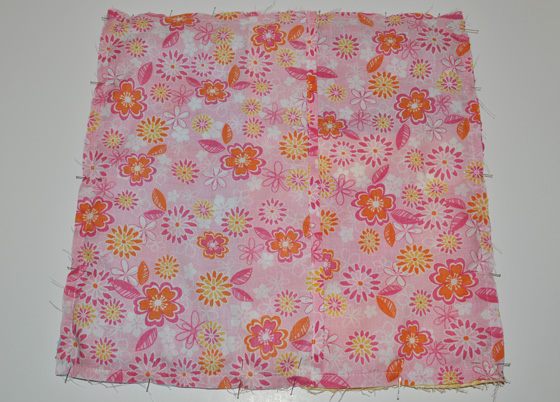
Stitch using 5/8″ seam allowance all the way around outside edge of pillow.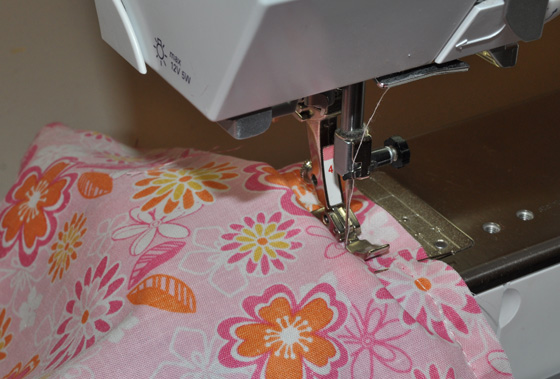
Note: I used my zipper foot when I sewed my seam because those little pompons were hitting my regular foot making it difficult to keep m 5/8″ seam. This may help you if you encounter the same issue with your decorative trim.
Finish your seams, clip corners and turn pillow case right side out. Stuff your pillow form in through the back opening and your Valentine Heart Throw Pillow is done!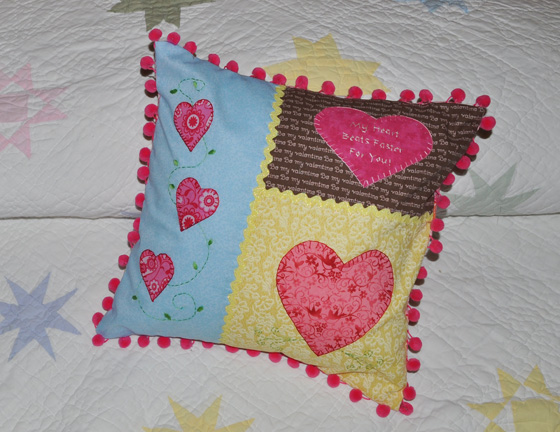
I would love to see your pillow creations and hear your comments, so please share!
Look for me on Tip Junkie’s Tip Me Tuesday! Thanks for stopping by!




2 Responses to Valentine Heart Applique Pillow – Free Throw Pillow Sewing Pattern