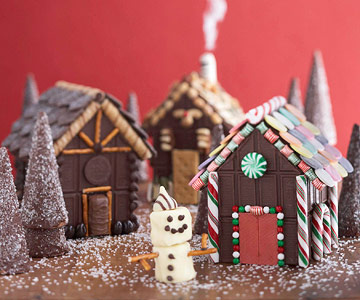
 Continuing our holiday crafting, we decided to go for something edible this week. I found instructions to make a quaint chocolate bar village at the Better Homes & Gardens website. You do have to register to download the pattern, but it is free. The download includes patterns for both the 5 oz. and 8 oz. bar sizes. We used 5 oz. bars for our houses. The thing I liked most about this pattern is that it is easy enough for you to do with your kids, and it is quite adorable when it is completed.
The BHG website shows several chocolate bar house designs including a candy cane house and a nut house, so we had plenty of inspiration. We made two houses using the pattern, however, they are not exactly like any of the houses shown on the BHG website, but we were going for our own unique style!
Using your imagination and creativity is the most fun part of making these little chocolate bar candy houses. I just took my instructions with me to the store and picked out candy and other goodies I thought were pretty and would work for different sections.
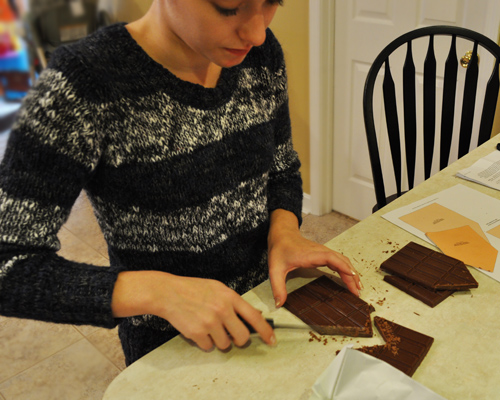
Dallyn cut our pieces out for each house. We found the trickiest part was melting the chocolate which is used to assemble the house and attach all the decorations. Just don’t over heat your chocolate and you will be fine. You can use a ziplock bag and cut the corner out for your melted chocolate or if you have an icing bag with a tip, that works fine too.
Having two people was very helpful when assembling the house walls, but one person can do it by using tumblers or glasses to hold up the sides while you are doing the assembly. Once we had our sides assembled, we put our houses in the refrigerator for a couple of minutes just to get the chocolate piping to cool and seal better before we added our decorations.
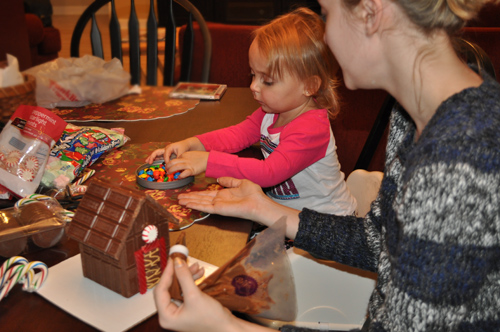 The more the merrier when we do any crafts! Our little helper was very good at picking out just the right color M & M for each spot around the house.
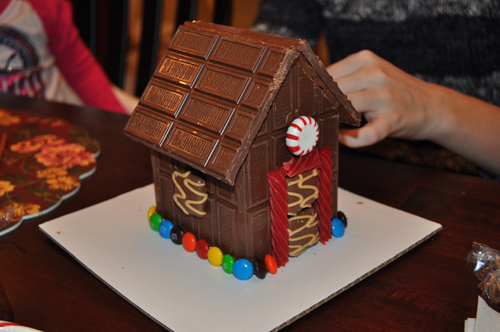 This chocolate bar house features licorice trim, peanut butter and chocolate cookies for the door and windows, a peppermint decoration over the door and M & Ms bordering the bottom.
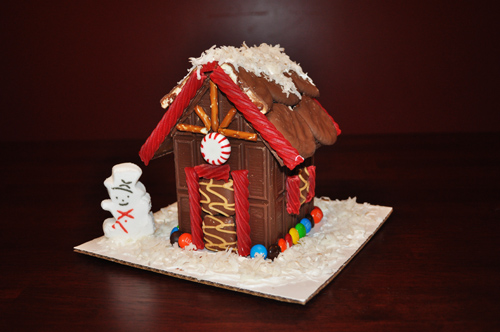 Our first house is finished, complete with snow and a snowman. Time to work on house number two!
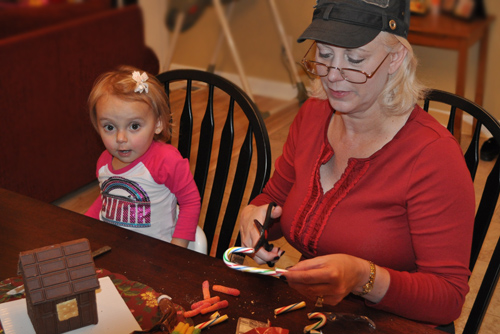 Autumn is an excellent assistant, helping Grandma pick out just the right decorations for our next house. We decided we liked gummy worms and cherry flavored candy canes around the door and graham crackers for the doors, windows and shingles.
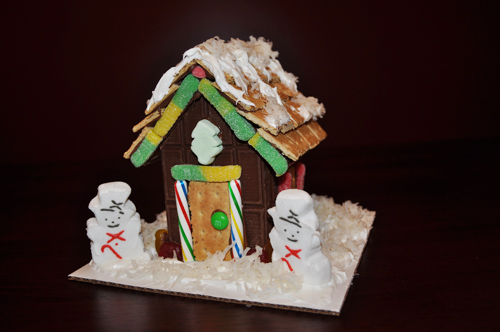 Friendly snowmen stand by each door to welcome visitors and a marshmallow tree decoration hangs over the front door.
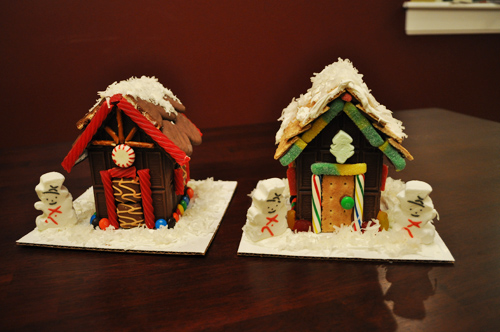 We were quite please with our finished chocolate bar houses!
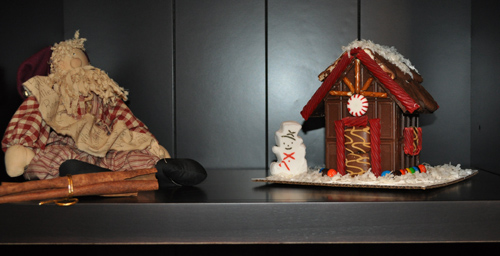 Dallyn and Autumn’s licorice and chocolate bar house is displayed on the shelf for all to enjoy. Our other chocolate bar house went home with Autumn as a present to Mommy. She thought it looked beautiful (and delicious)!
I hope this inspires you to make your own unique chocolate bar houses! Please enjoy and share your results. We’d love to see!

